
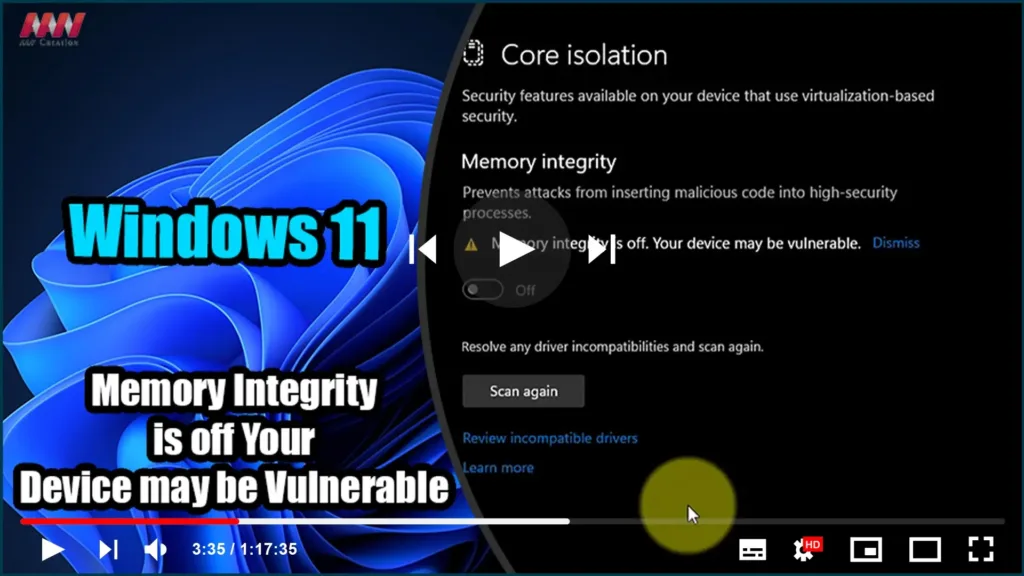

Memory Integrity is a crucial virtualization-based security feature integrated into your Windows operating system. Activating Memory Integrity serves as a protective shield for essential processes required for the seamless functioning of your PC. It effectively safeguards against a variety of kernel-level attacks.
However, when you attempt to enable Memory Integrity through the Windows 11 settings, you might encounter an issue related to incompatible drivers. These errors could pertain to drivers and devices that were not intentionally installed on your system.

The good news is that there are several methods to address the problem of incompatible drivers preventing Memory Integrity from being enabled in Windows 11.
To resolve this issue, follow these steps:
-
01. Access Windows Terminal with Administrative Privileges: Begin by right-clicking on the START button, then select “WINDOWS TERMINAL (ADMIN)”.
-
-
02. List Installed Drivers: Once in the terminal, you can list all the drivers on your computer using specific commands.

-
03. Identify the Problematic Driver: Pay close attention to the error message associated with the incompatible driver.
-
-
04. Uninstall the Problematic Driver: Use the appropriate commands to uninstall the problematic driver.

-
05. No Need for a Reboot: Fortunately, there is no need for a system reboot at this point. You can immediately attempt to enable CORE ISOLATION. You should receive a prompt to reboot once Core Isolation and Memory Integrity are successfully activated.
By following these steps, you can effectively resolve the issue of incompatible drivers that may hinder the enabling of Memory Integrity in your Windows 11 system. This ensures that your PC remains secure while operating smoothly.

