

On Windows 11, customizing your account picture is a great way to personalize your user experience. Whether you’ve created an account using a Microsoft account or a local account, you can easily change the default image to something more reflective of your personality.
In this video tutorial, we’ll guide you through the steps to change the picture for your Windows 11 account:
Step 01: Open Settings: Begin by opening the Settings app. You can do this by clicking on the Start button and selecting “Settings” from the menu.
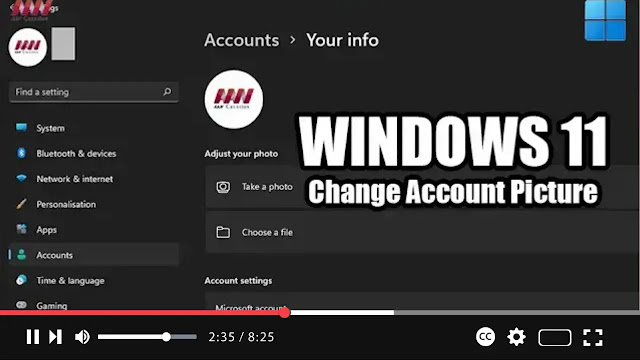
Step 02: Navigate to Accounts: In the Settings app, click on the “Accounts” option.
Step 03: Access Your Info: On the Accounts page, select the “Your info” tab located on the right side of the window.
Step 04: Choose a New Picture: Scroll down to the “Choose a file” section. Click on the “Browse files” button to select a new picture from your computer.
Step 05: Select the Image: Browse through your files and choose the image you want to use as your account picture.

Step 06: Apply Changes: Once you’ve selected the desired image, click on it to set it as your account picture.
With these simple steps, you can easily change the account picture for your Windows 11 account. Whether you prefer a photo of yourself, a favorite pet, or a custom avatar, this customization option allows you to add a personal touch to your user profile.

