

Windows Hello provides a quick, secure way to sign in using a PIN, facial recognition, or fingerprint. However, you might want to disable the PIN sign-in option for various reasons. Here’s how to do it.
Introduction
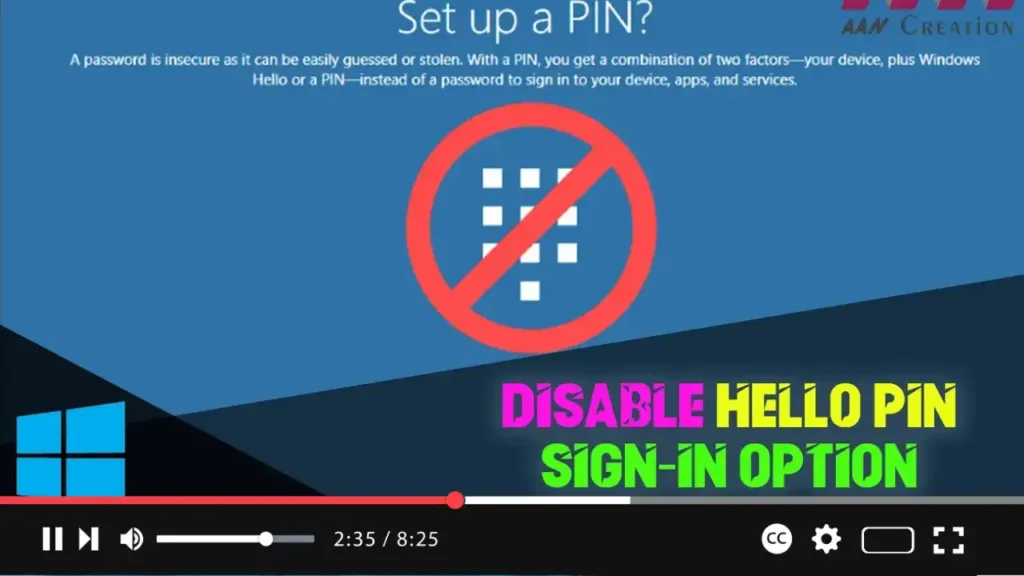
Disabling the Windows Hello PIN sign-in option can enhance security by forcing the use of more secure sign-in methods or simplifying the sign-in process by using a password only.
Steps to Disable Windows Hello PIN Sign-in Option
Step 01: Open Settings
Press Windows key + I to open the Settings app.
Step 02: Navigate to Accounts
In the Settings window, click on “Accounts” to access your account settings.
.webp)
Step 03: Access Sign-in Options
Click on “Sign-in options” in the left sidebar. This section allows you to manage various sign-in methods.
Step 04: Remove the Windows Hello PIN
Under the “Manage how you sign in to your device” section, find the “PIN (Windows Hello)” option.
.webp)
Click on “Remove” to delete the PIN. You may be prompted to enter your current password to confirm this action.
Additional Information
Alternative Sign-in Methods: After removing the PIN, ensure you have an alternative sign-in method set up, such as a password, facial recognition, or fingerprint.
.webp)
Security Considerations: While removing the PIN, consider the security implications and ensure other sign-in methods are secure.
By following these steps, you can disable the Windows Hello PIN sign-in option on Windows 10, thereby simplifying or changing the way you sign in to your device.

