

If you prefer using the modern Windows Terminal app over the legacy Windows Console Host for running Command Prompt, PowerShell, and Linux commands on your Windows 11 system, you can easily set it as the default experience. Here’s a quick guide to help you make the switch:
Step 01: Open Windows Terminal: Start by launching the Windows Terminal app on your Windows 11 system.
Step 02: Access Settings: Within Windows Terminal, click on the menu button located next to the new tab option. From the dropdown menu, select the “Settings” option.
.webp)
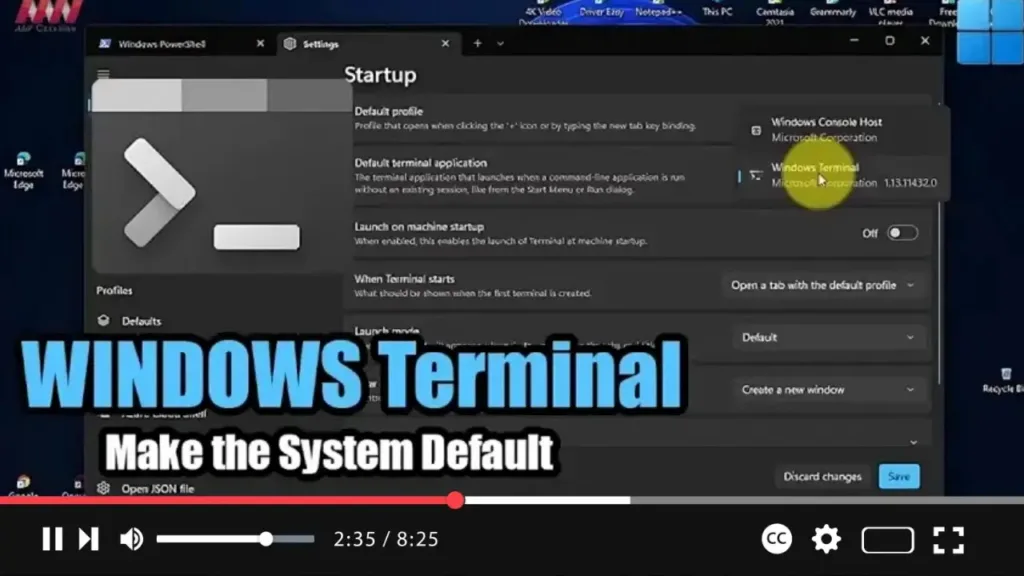
Step 03: Navigate to Startup Settings: In the Settings window, click on the “Startup” tab.
Step 04: Choose Default Terminal Application: Under the “Startup” section, locate the “Default terminal application” dropdown menu. Click on it and select “Windows Terminal” from the options available.
Step 05: Select Default Profile: Next, choose the default profile you prefer by using the “Default profile” dropdown menu. You can select “Command Prompt” if you want to open the app directly into Command Prompt instead of PowerShell.
.webp)
Step 06: Save Changes: Once you’ve made your selections, click on the “Save” button to apply the changes.
By following these steps, you’ve successfully set the modern Windows Terminal app as the default experience for opening and running Command Prompt, PowerShell, and Linux commands on your Windows 11 system. The next time you try to open any of these tools, they will launch within the Windows Terminal app.
Enjoy the enhanced functionality and flexibility offered by the modern Windows Terminal app!

