

Enabling or disabling Autorun in Windows 10 can help you control how your system handles external drives and media. Autorun can be useful for quickly accessing content, but it can also be a security risk if malicious software is present. Here’s how you can manage this feature:
Introduction:
Autorun is a Windows feature that allows media such as CDs, DVDs, and USB drives to automatically execute a predefined action when inserted. While convenient, it can pose a security risk if the media contains malware. Therefore, you might want to enable or disable Autorun based on your preferences. Below, we outline the steps to manage Autorun in Windows 10.
Steps to Enable or Disable Autorun:
Step 01: Open Settings
Click on the Start menu button in the bottom-left corner of your screen and select the gear icon to open the Settings app.
Step 02: Access Devices Settings
In the Settings window, click on the “Devices” category.
Step 03: Navigate to AutoPlay Settings
On the left-hand side of the Devices settings page, select “AutoPlay.”
Step 04: Enable or Disable AutoPlay
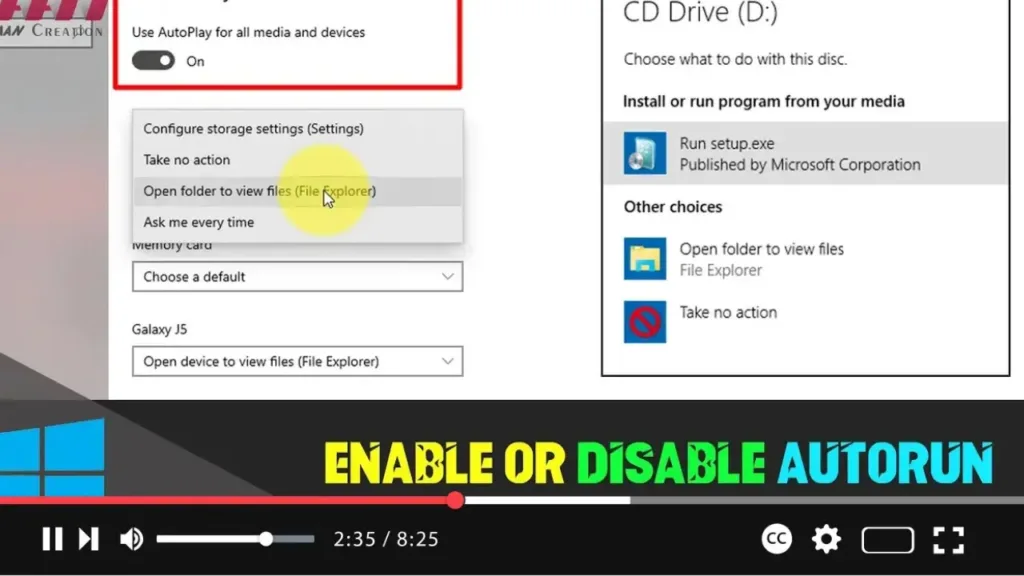
In the AutoPlay settings page, you will see a toggle switch labeled “Use AutoPlay for all media and devices.” Toggle this switch to enable or disable AutoPlay for all devices.
Step 05: Set Default Actions
If you choose to enable AutoPlay, you can specify the default action for different types of media:
- Under “Choose AutoPlay defaults,” you can select actions for removable drives, memory cards, and other media types. Options include opening the folder to view files, taking no action, or asking you each time.
.webp)
Additional Method: Using Control Panel
Step 01: Open Control Panel
Press the Windows key + R to open the Run dialog, type “control panel,” and press Enter to open the Control Panel.
Step 02: Access AutoPlay Settings
In the Control Panel, select “Hardware and Sound,” then click on “AutoPlay.”
Step 03: Configure AutoPlay Settings
In the AutoPlay settings window, you can see a list of different media types and devices. Use the dropdown menus next to each type to select the default action or choose “Take no action” to disable AutoPlay for that specific media type.
Step 04: Save Changes
After configuring your preferences, click “Save” at the bottom of the window to apply the changes.
.webp)
Additional Information:
-
Security Considerations: Disabling AutoPlay can help protect your system from automatically executing potentially malicious software present on external media.
-
Customization: Even if you disable AutoPlay globally, you can still manually access the content of any drive or media by opening File Explorer and navigating to the drive.
By following these steps, you can easily enable or disable Autorun (AutoPlay) in Windows 10, tailoring your system’s behavior to match your security needs and convenience preferences.

