

In an era where data consumption can quickly spiral out of control, managing your internet connection effectively becomes crucial, especially when dealing with a metered connection. A metered connection is an internet connection that has a limit on the amount of data you can use within a specified time frame. This type of connection is often associated with cellular data plans but can also apply to Wi-Fi and Ethernet networks. In this article, we will explore the implications of using a metered connection and provide a comprehensive guide on how to set your Wi-Fi network as metered in Windows 10.
What is a Metered Connection?
A metered connection restricts data usage, allowing users to better manage their internet consumption. When you use a metered connection, Windows will modify the behavior of certain applications and updates to minimize data usage. For example, Windows may delay or limit automatic updates and restrict background data usage by apps to help you stay within your data limits. This feature is particularly beneficial for users with limited data plans, such as those using mobile broadband or shared Wi-Fi networks.
Why Use a Metered Connection?
Setting your connection as metered can be advantageous in several scenarios:
-
Cost Management: If you’re on a limited data plan, setting your connection as metered can help you avoid exceeding your data cap, which can result in additional charges.
-
Bandwidth Preservation: By limiting background data usage, you can ensure that your connection remains stable and fast for essential tasks, such as video conferencing or streaming.
-
Control Over Updates: A metered connection allows you to have greater control over when and how Windows updates are downloaded and installed, which can be particularly helpful if you’re working with critical applications.
How to Set a Wi-Fi Network as Metered in Windows 10
If you want to change your Wi-Fi network to a metered connection, follow these detailed steps:
Step 01: Open Settings
Start by selecting the Start button on your taskbar. From the menu that appears, select Settings (the gear icon) to access the Windows Settings.
Step 02: Navigate to Network & Internet
In the Settings window, click on Network & Internet. This section provides options for managing both Wi-Fi and Ethernet connections.
Step 03: Access Wi-Fi Settings
Once in the Network & Internet section, select Wi-Fi from the left sidebar. This will show you the available Wi-Fi networks and settings related to your current connection.

Step 04: Manage Known Networks
Scroll down and click on Manage known networks. This option allows you to see all the Wi-Fi networks your device has previously connected to.
Step 05: Select Your Wi-Fi Network
From the list of known networks, locate the Wi-Fi network you want to set as metered. Click on it to reveal additional options.
Step 06: Open Properties
Click on Properties to access the settings for the selected Wi-Fi network.
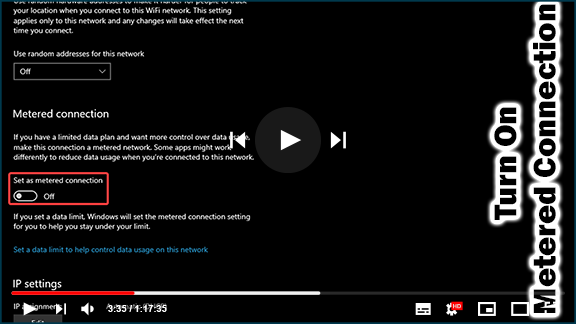
Step 07: Enable Metered Connection
In the properties window, look for the option labeled Set as metered connection. Toggle this setting on. Once enabled, Windows will treat this connection as metered, adjusting the behavior of apps and updates accordingly.
Step 08: Close Settings
After setting the metered connection, you can close the Settings window. Your changes will take effect immediately.
Conclusion
Setting your Wi-Fi network as a metered connection in Windows 10 is a straightforward process that offers numerous benefits, especially for users with limited data plans. By managing your connection effectively, you can prevent unexpected data overages and maintain control over your bandwidth. With these steps, you can now confidently set up a metered connection and make informed decisions about your internet usage.
By understanding the implications of a metered connection and how to manage it, you can ensure that your online activities remain efficient and cost-effective.

