

If you frequently use Bluetooth devices with your Windows 10 computer, you may have encountered the hassle of pairing them. Fortunately, Microsoft has introduced a feature called Swift Pair that makes the process faster and easier than ever before. In this article, we’ll guide you through the steps to enable Swift Pair on your Windows 10 computer.
Before we get started, make sure your computer has Bluetooth capabilities and that it’s turned on. You can check this by going to Settings > Devices > Bluetooth & other devices. If Bluetooth is not turned on, toggle the switch to the “On” position.
Once Bluetooth is turned on, you can proceed with enabling Swift Pair. Here’s how:
Step 1: Turn on your Bluetooth device and put it in pairing mode.

The first step is to turn on your Bluetooth device and put it in pairing mode. The method for doing this will vary depending on the device, so consult the user manual or manufacturer’s website for instructions.
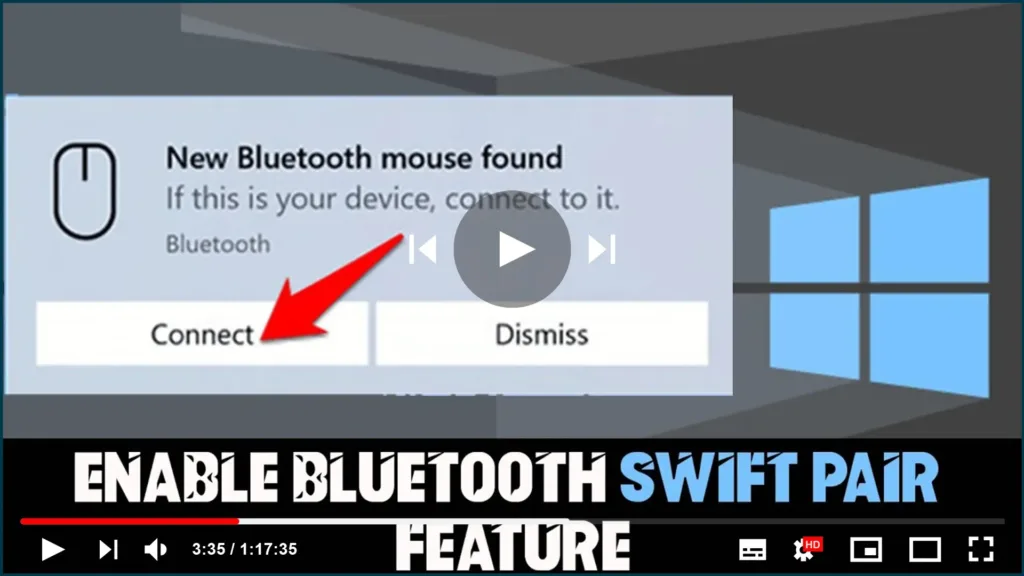
Step 2: Pair the device with your computer.
When the device appears in the list of available Bluetooth devices, click on it and select “Pair”. This will initiate the pairing process between your computer and the Bluetooth device.
Step 3: Enable Swift Pair.

If Swift Pair is not already enabled on your computer, you will be prompted to turn it on. To enable Swift Pair, click “Yes” when prompted. If you don’t see the prompt, you may need to update your Windows 10 version to 1803 or later.
Step 4: Start using your Bluetooth device.
Once the pairing process is complete, you should be able to use your Bluetooth device with your computer. You can check the status of your device by going to Settings > Devices > Bluetooth & other devices.
enabling Swift Pair on your Windows 10 computer is a simple process that can save you time and hassle when pairing Bluetooth devices. With Swift Pair, you can quickly and easily connect your Bluetooth devices to your computer and get back to work or play.

