

If you prefer to have File Explorer open to the “This PC” page by default rather than the “Quick Access” page on your Windows 11 system, you can easily adjust the Folder Options settings. Here’s a simple guide to help you make the change:
Step 01: Open File Explorer: Start by launching File Explorer on your Windows 11 system.
Step 02: Access Folder Options: Within File Explorer, click on the “See more” (three-dotted) drop-down menu located in the upper-right corner of the window. From the dropdown menu, select the “Options” entry.
Step 03: Navigate to General Settings: In the Folder Options window that opens, click on the “General” tab.
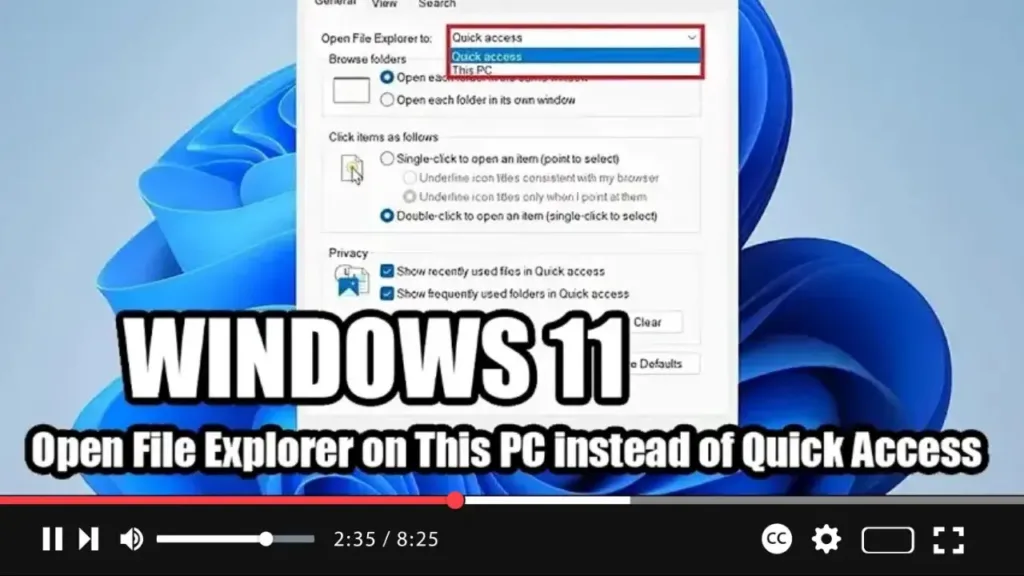
Step 04: Choose Default Folder: Under the “Open File Explorer to” section, you’ll find a dropdown menu. Click on it and select the “This PC” option.
.webp)
Step 05: Apply Changes: After selecting “This PC” as the default folder, click on the “Apply” button to save the changes.
Step 06: Confirm and Close: Finally, click on the “OK” button to confirm the changes and close the Folder Options window.
By following these steps, you’ve successfully configured File Explorer to open to the “This PC” page by default whenever you launch it on your Windows 11 system. This will provide you with quicker access to your profile folders, drives, and network locations.
Enjoy the streamlined File Explorer experience with “This PC” as your default starting point!

