

Greetings, Windows 11 enthusiasts! Exciting news: you can now enable “sudo” on your system, bringing a familiar feature from Unix-based operating systems like Linux and macOS right to your Windows experience. In this guide, I’ll walk you through the simple steps to configure sudo on Windows 11, allowing you to run elevated commands without the hassle of opening the console as an administrator.
Let’s dive into the configuration process:
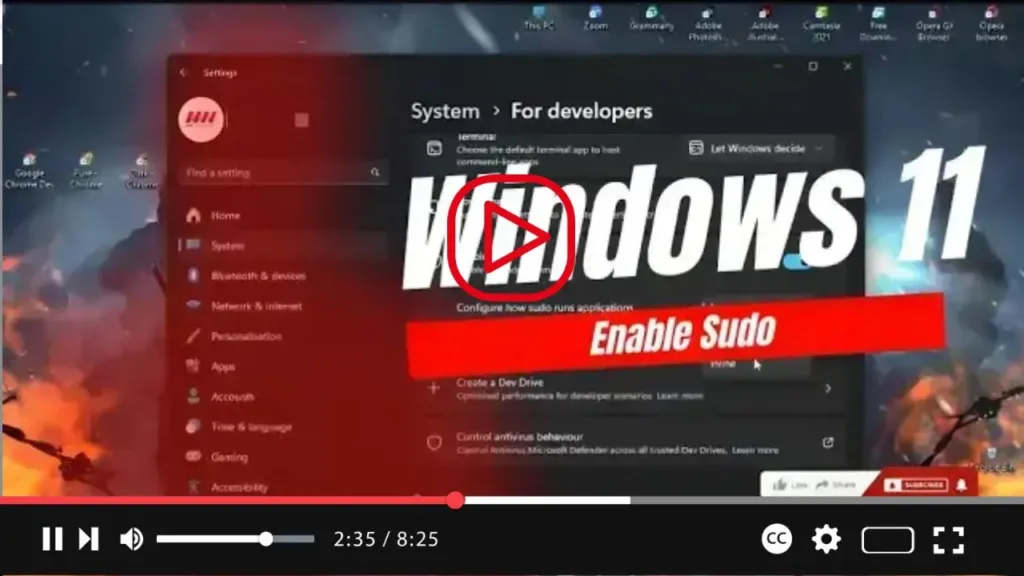
- Open Settings on your Windows 11 system.
- Navigate to the “System” section.
- Select the “For developers” page.
- Locate and toggle the switch to enable “sudo.”
.webp)
Now that you’ve enabled sudo, let’s customize its behavior for your preferred experience:
- Click on the “Enable sudo” setting.
- From the “Configure how sudo runs applications” option, choose the “Inline” mode for a Linux-like experience.
And that’s it! Once you’ve completed these steps, you’re all set to utilize the sudo command within the Windows Terminal, whether you’re working in Command Prompt or PowerShell. Say goodbye to the inconvenience of repeatedly opening consoles as an administrator—sudo has got you covered.
.webp)
With sudo configured to your liking, you’ll enjoy a smoother workflow and enhanced productivity on your Windows 11 system. Embrace the power of elevated commands with ease and efficiency.
So, what are you waiting for? Follow these steps, unleash the potential of sudo, and elevate your Windows 11 experience today!

