

With Windows Sandbox, you can now run untrusted apps in isolation, and
here’s how to enable the feature.
here’s how to enable the feature.
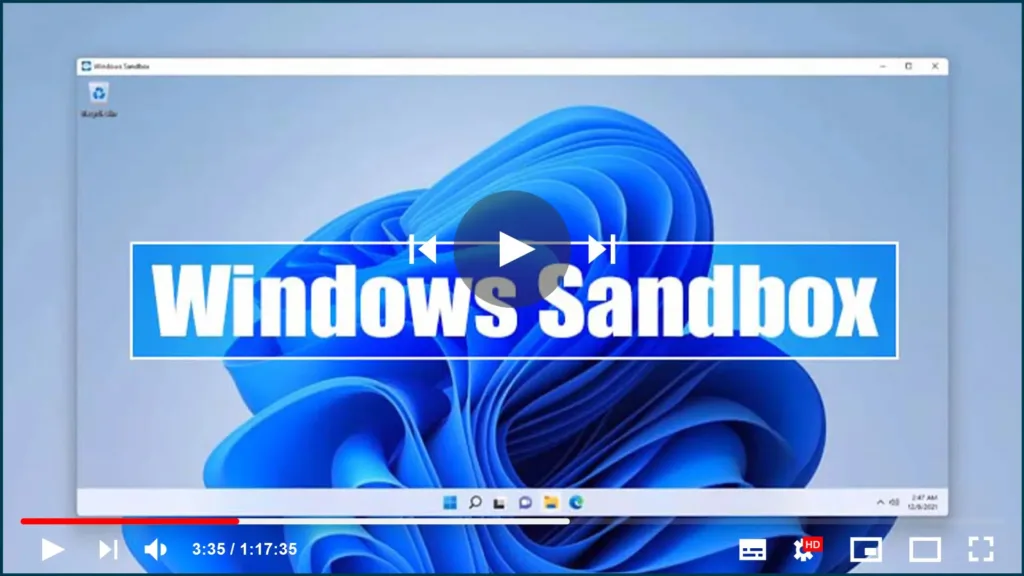
“Windows Sandbox” is a lightweight isolated environment available in
Windows 10 beginning with the May 2019 Update that allows you to test
untrusted applications without affecting your device.
Windows 10 beginning with the May 2019 Update that allows you to test
untrusted applications without affecting your device.
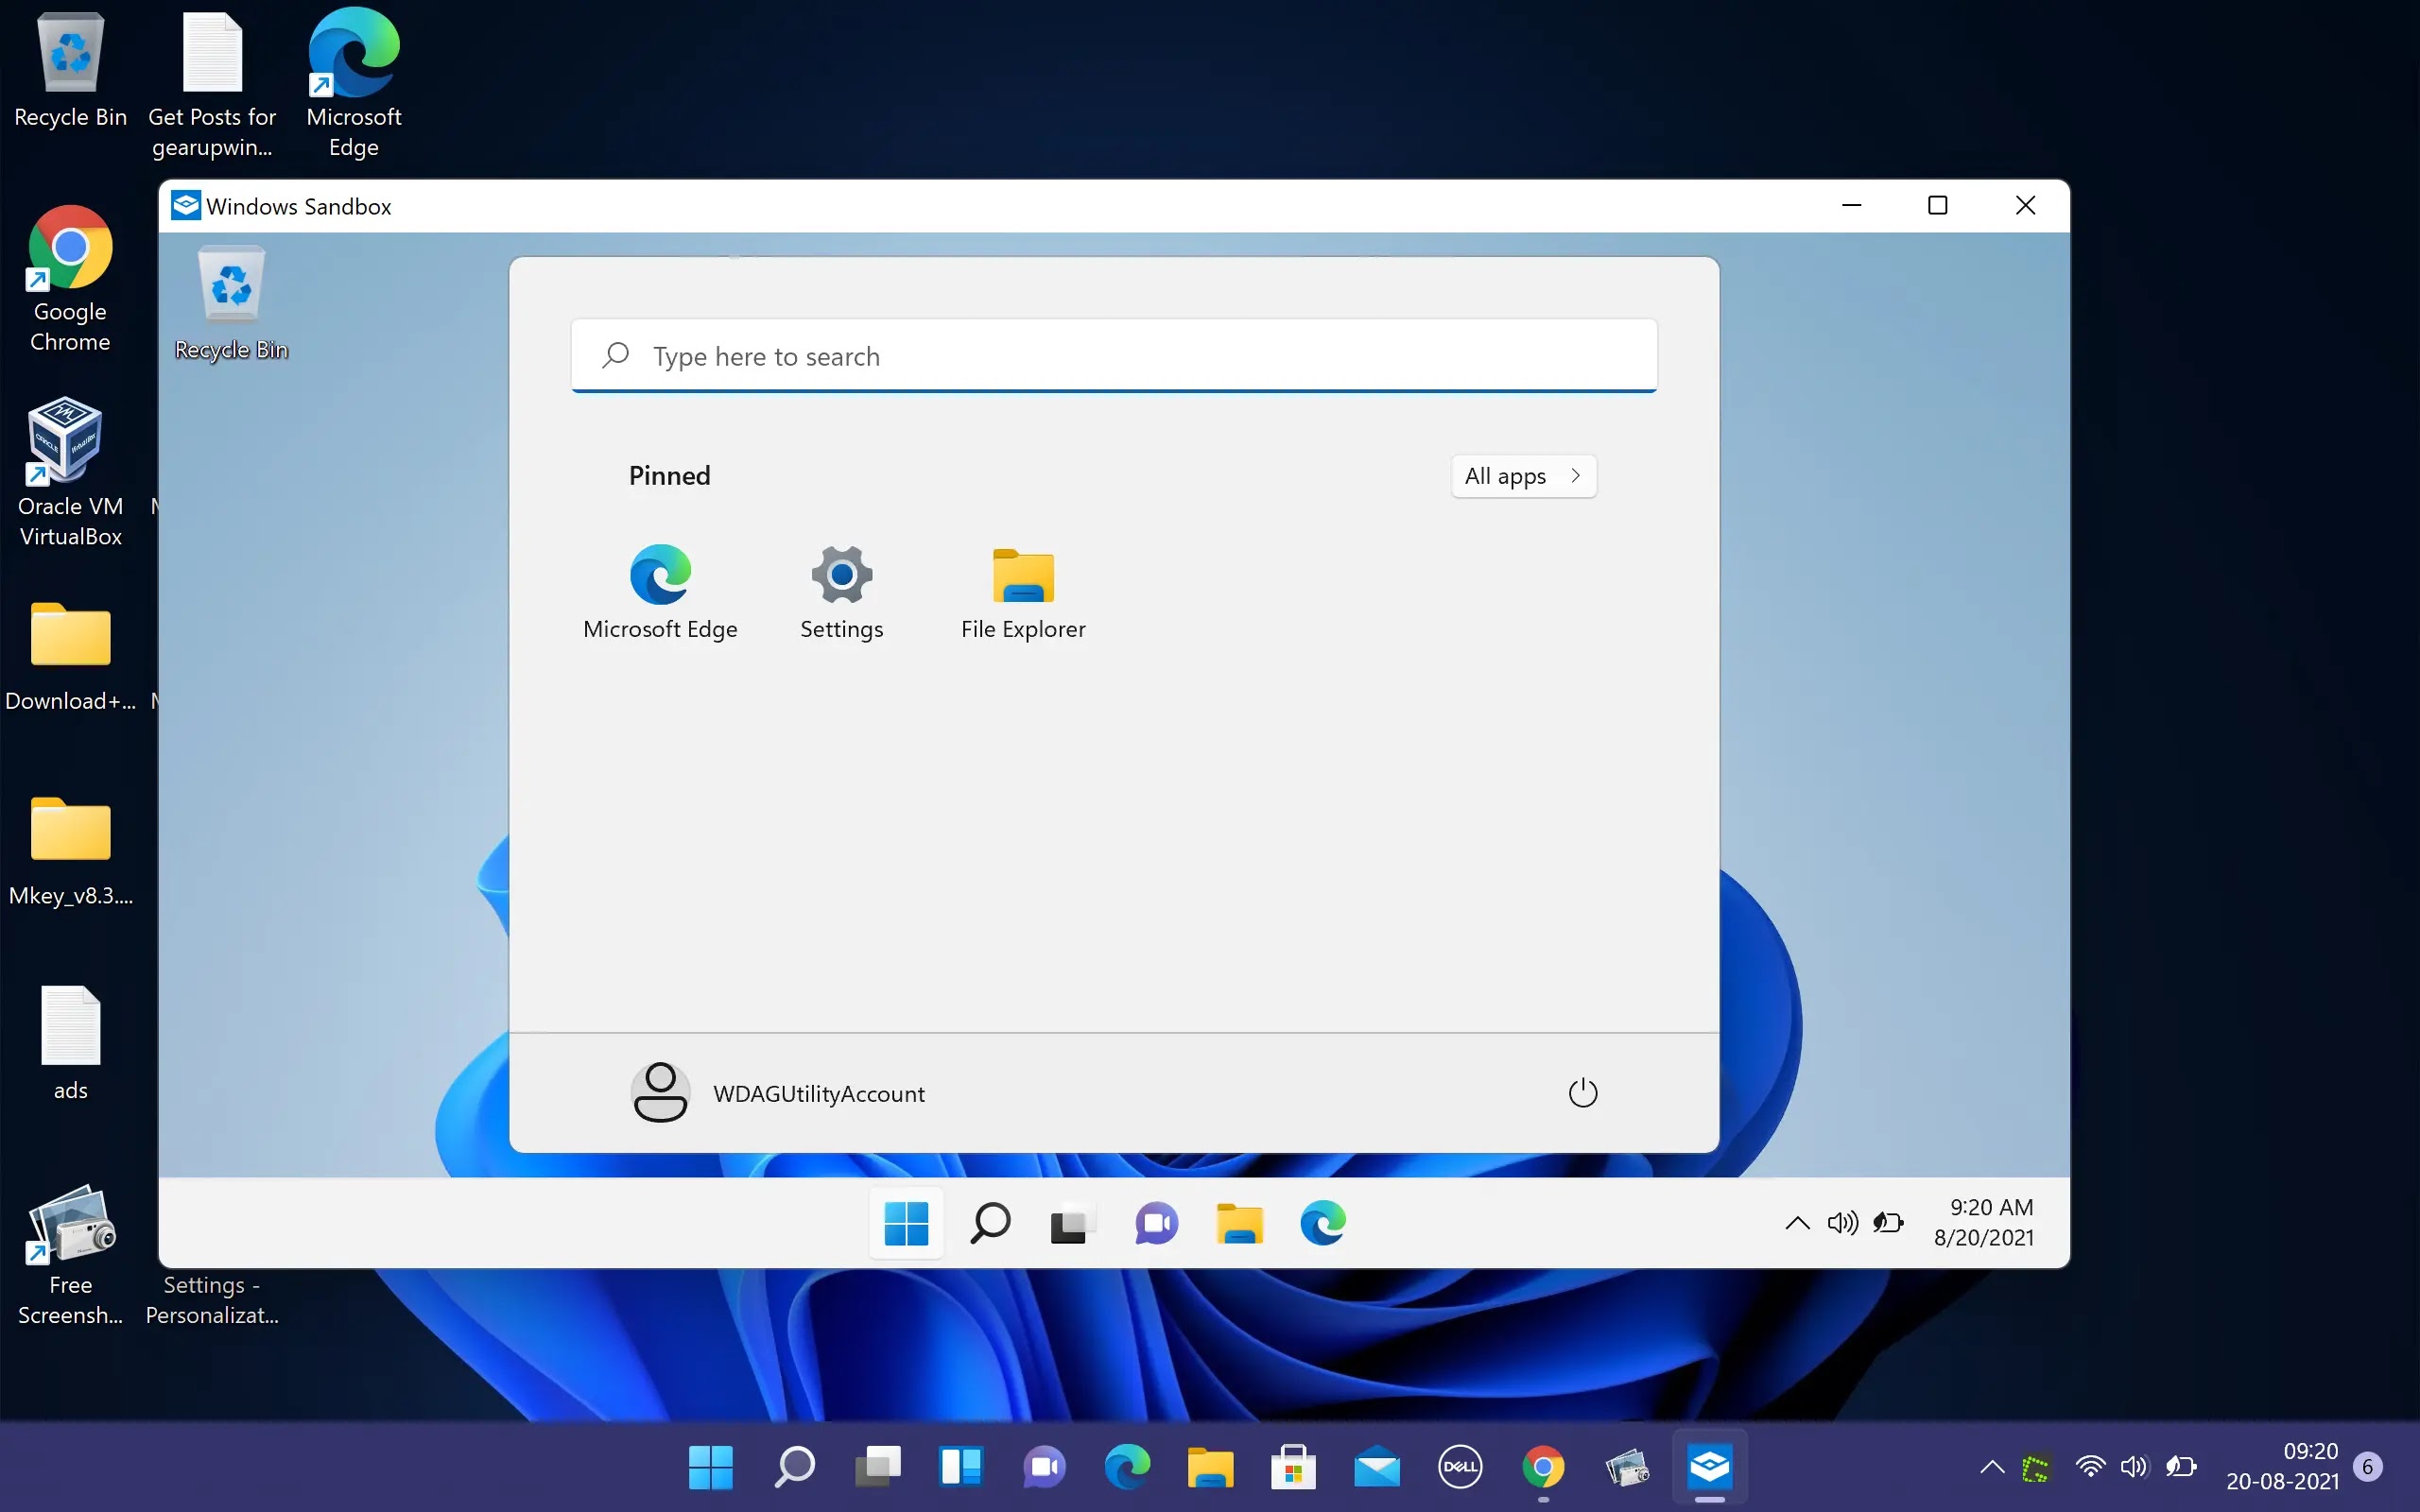
Sandbox operates in the same way as a virtual machine, employing
Microsoft’s hypervisor and hardware virtualization to run a separate
kernel that isolates a Windows Sandbox session from the host.
Essentially, it’s a small Windows 10 installation (around 100MB in size)
that allows you to install and run untrusted classic applications
separately from the main installation.
Windows Sandbox, according to the company, is also very efficient
because it uses an integrated kernel scheduler, smart memory management,
and virtual graphics, and it is disposable. When you finish using the
app, the sandbox is deleted, which means that every time you launch the
feature, you will start with a fresh installation of Windows 10.
because it uses an integrated kernel scheduler, smart memory management,
and virtual graphics, and it is disposable. When you finish using the
app, the sandbox is deleted, which means that every time you launch the
feature, you will start with a fresh installation of Windows 10.
This guide will teach you how to enable Windows Sandbox, which is
included with the Windows 10 May 2019 Update.
included with the Windows 10 May 2019 Update.
To enable “Windows Sandbox” to run untrusted applications on Windows
10, follow these steps:
10, follow these steps:
01. Open Start on Windows 10.
02. Type Turn Windows features on or off into the search bar and select
the top result to launch the experience.
the top result to launch the experience.
03. Check the Windows Sandbox option.

(adsbygoogle = window.adsbygoogle || []).push({});
04. Click the OK button.
05. Click the Restart now button.
Starting with version 1903 (build 18305), this feature is only
available for Windows 10 Pro and Windows 10 Enterprise on devices with
virtualization-capable processors and motherboards. If you don’t see
this feature, you’re probably not running a supported version of Windows
10, or hardware virtualization isn’t supported or is turned off.
available for Windows 10 Pro and Windows 10 Enterprise on devices with
virtualization-capable processors and motherboards. If you don’t see
this feature, you’re probably not running a supported version of Windows
10, or hardware virtualization isn’t supported or is turned off.
If hardware virtualization isn’t enabled, contact your motherboard
manufacturer for instructions on how to enable the feature.
manufacturer for instructions on how to enable the feature.

