

Windows 11 provides the Photos app as the default tool for viewing and managing your images and videos, whether they’re stored locally on your device or in the cloud via services like OneDrive or iCloud Photos. To customize the folders displayed in the Photos app and streamline your media management experience, follow these simple steps:
.webp)
-
Open the Photos App:
- Launch the Photos app on your Windows 11 device. You can find it in the Start menu or by searching for “Photos” in the search bar.
-
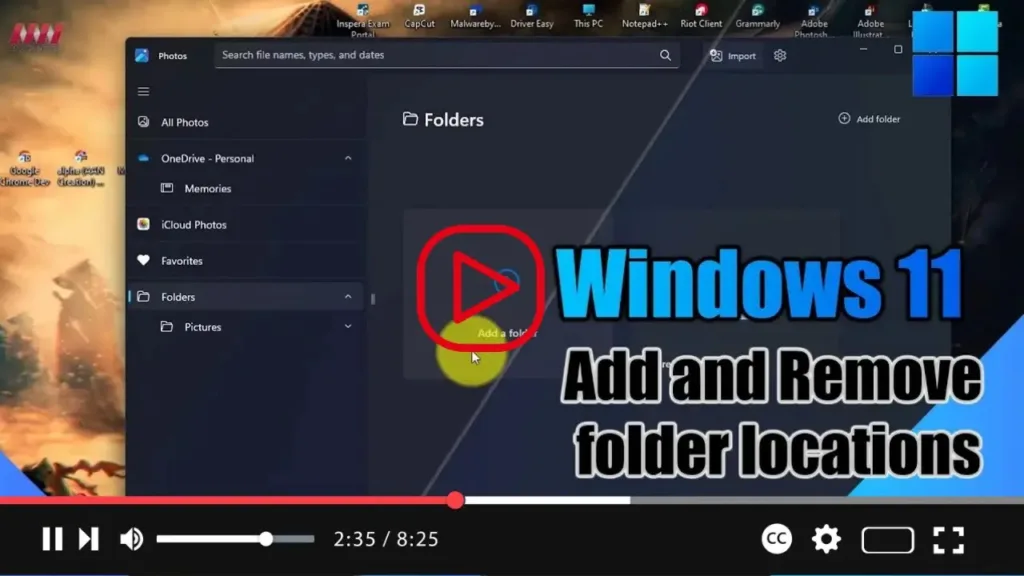
Access Folder Settings:
- Once the Photos app is open, navigate to the “Folders” section. This section typically lists all the folder locations currently included in the app.
-
Add a Folder:
- To add a new folder location, click on the “Add a folder” button. This action will prompt a window to appear, allowing you to browse and select the folder you wish to include in the Photos app.
-
Select Folder Location:
- Browse through your computer’s directory structure to locate the folder you want to add to the Photos app. Once you’ve found the desired folder, click on it to select it.
-
.webp)
-
Confirm Selection:
- After selecting the folder, click the “Select Folder” button to confirm your choice. The Photos app will now include this folder location in its library, allowing you to access its media files directly from the app.
-
Remove a Folder:
- If you wish to remove a folder location from the Photos app, simply right-click on the location you want to remove and select the “Remove folder” option from the context menu.
.webp)
By following these steps, you can easily manage the folder locations displayed in the Photos app on Windows 11. Whether you want to add new folders for easier access to your media or remove unnecessary locations to declutter the app interface, these simple instructions will help you tailor the Photos app to suit your preferences.

