


Windows has always had a dedicated photo browser and viewer. In Windows 10 as well, Microsoft decided to amalgamate browsing, organizing, and viewing all together in one application and the end result is Photos App. While the Photos app is great the only caveat is that it by default shows files only from your Pictures folder. This means if you store files on an external drive or in the network using a shared folder, those images aren’t included by the app. But you can add/remove folder locations in Photos App. You can also include more folders in your picture collection- and it’s all within the settings.
This built-in Photos app in Windows 10 allows users to view images, perform basic photo and video editing, create albums, and even create movies. This application collects photos from your system, phone, and other devices and stores them in a single location, the Local Pictures Folder, alongside files stored in OneDrive. The photos app allows you to easily browse through photos and find the one you’re looking for all in one place.
This tutorial will walk you through the process of adding new or removing folder locations in Windows 10’s Photos App. Follow the steps below to add or remove a folder location in the Photos App.
Add a new folder location in the Photos App
Follow these steps to add a new folder containing images as an additional source in Photos:
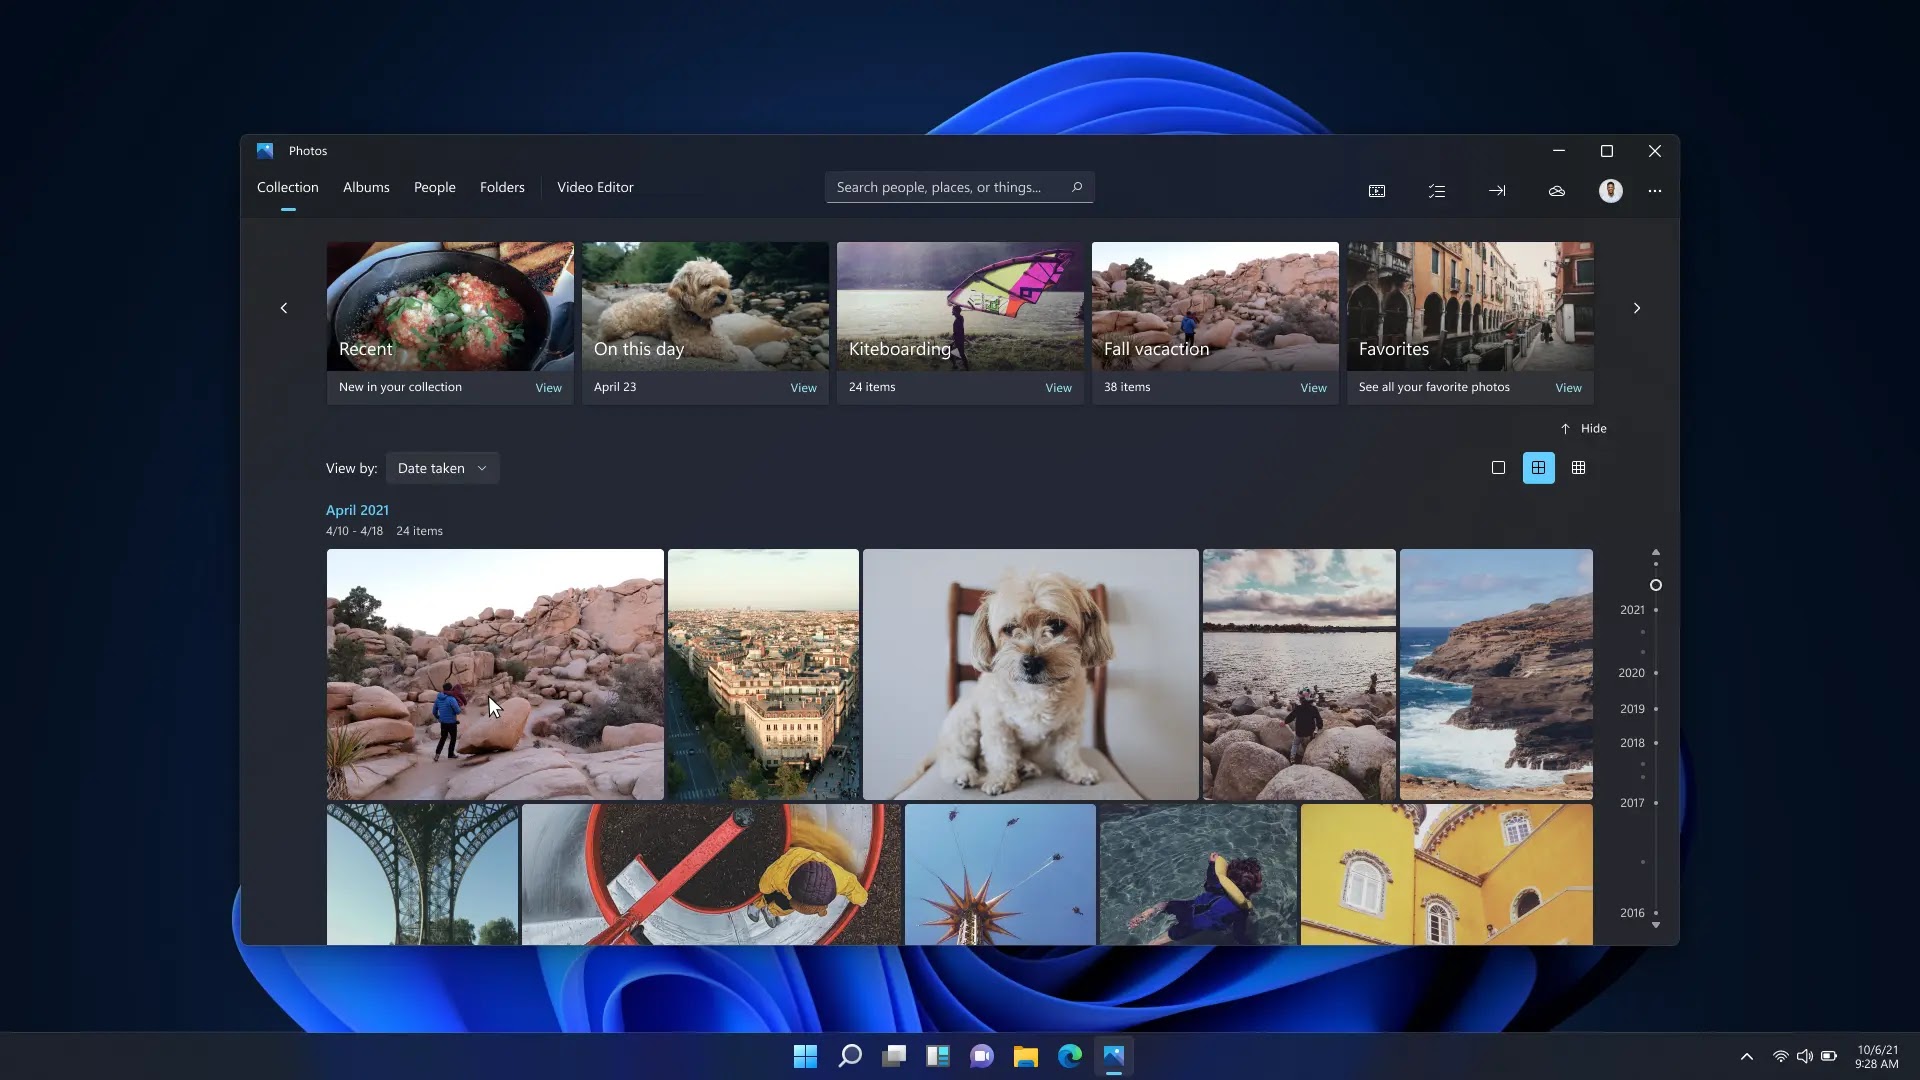
01. Open the ‘Start’ menu and type ‘Photos’
02. From the search results click on the ‘Photos’ app.
03. From the top-right corner, click the main menu button i.e. three-dotted icon and select the ‘Settings’ option.

(adsbygoogle = window.adsbygoogle || []).push({});
04. Now, under the ‘Sources’ section, click the ‘Add a folder’ button.
05. Select the new file location.
Please note, that on selecting the ‘add a folder’ option, Windows gives you folder suggestions that you can simply select and add. Hence, if your desired folder location is already in the suggestions simply check the option and hit ‘add folders. Or select the ‘Add another folder’ option to go to the folder of your choice.
06. Click the ‘Add this folder to Pictures’ button.
07. Once done, the new folder will be added to ‘Pictures’ and the Photos app will start indexing your images.

