

Changing your account password on Windows 10 is a critical task to ensure the security of your personal and sensitive data. It is recommended that you change your password regularly to prevent unauthorized access. In this article, we will discuss how to change an account password using the command prompt on Windows 10.
Step 1: Open Command Prompt
To begin, you need to open the command prompt on your Windows 10 computer. You can do this by pressing the Windows key + R on your keyboard and typing “cmd” in the Run box. Alternatively, you can also search for “Command Prompt” in the Windows search bar.
Step 2: Run Command Prompt as Administrator
After opening the Command Prompt, you need to run it as an administrator. To do this, right-click on the Command Prompt icon and select “Run as administrator” from the context menu.
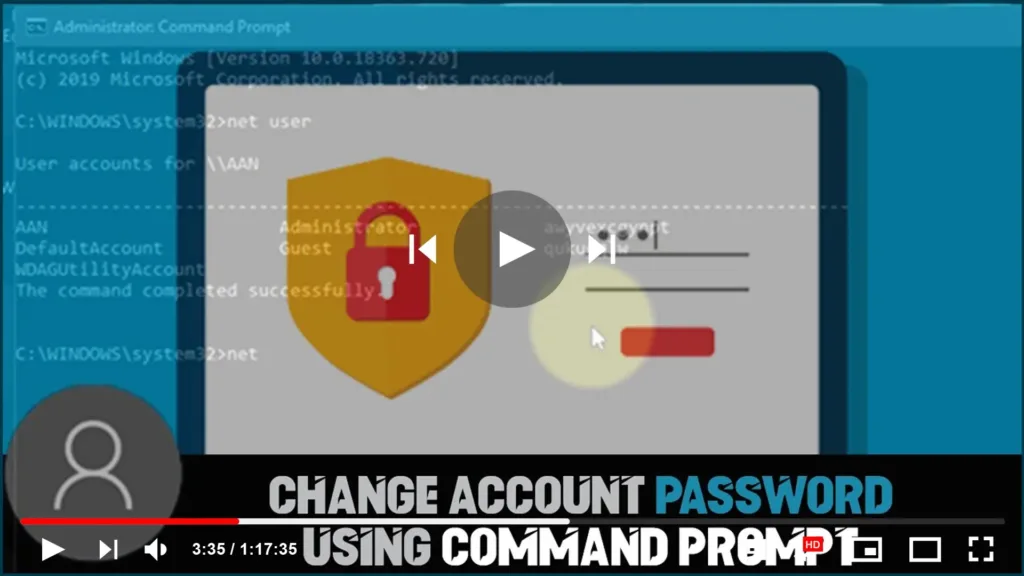
Step 3: Change Account Password
Once you have opened the Command Prompt as an administrator, you can change the account password by typing the following command:
net user <username> *

In the above command, replace <username> it with your account username. When you press Enter, you will be prompted to enter a new password for your account.
Note: When you type in the new password, it will not be displayed on the screen. This is a security measure to prevent others from seeing your password.
Step 4: Confirm Password Change
After entering the new password, you will be asked to confirm it by typing it again. Once you have confirmed the password, press Enter.
Step 5: Verify Password Change

To verify that the password has been changed successfully, you can log out of your account and log in again using the new password.
Changing your account password on Windows 10 is a straightforward process that can be done using Command Prompt. By following the steps outlined in this article, you can change your account password quickly and easily. Remember to choose a strong and unique password that is difficult to guess and update it regularly to keep your computer secure.

