

On Windows 11, the ability to change the PC name is not only about personalization. If you have multiple devices (such as desktops and laptops) and do not keep them organized, it will be difficult to find them on the network, inventory them, and take advantage of additional features.
For example, most people now use a Microsoft account to sign in to Windows 11. This type of account allows you to sign in to all your devices with the same credentials, helping to keep an organized inventory in your Microsoft account and use features like finding your device and reactivating a copy of Windows after a hardware change. If you do not name a computer accordingly, Windows 11 will assign a random name, making it more difficult to organize and use the different features.
.webp)
In this guide, you will learn the steps to change the name of a Windows 11 laptop, desktop, or tablet using the Settings app.
Step-by-Step Instructions
Step 01: Open Settings Open Settings on Windows 11.
Step 02: Navigate to System Click on System.
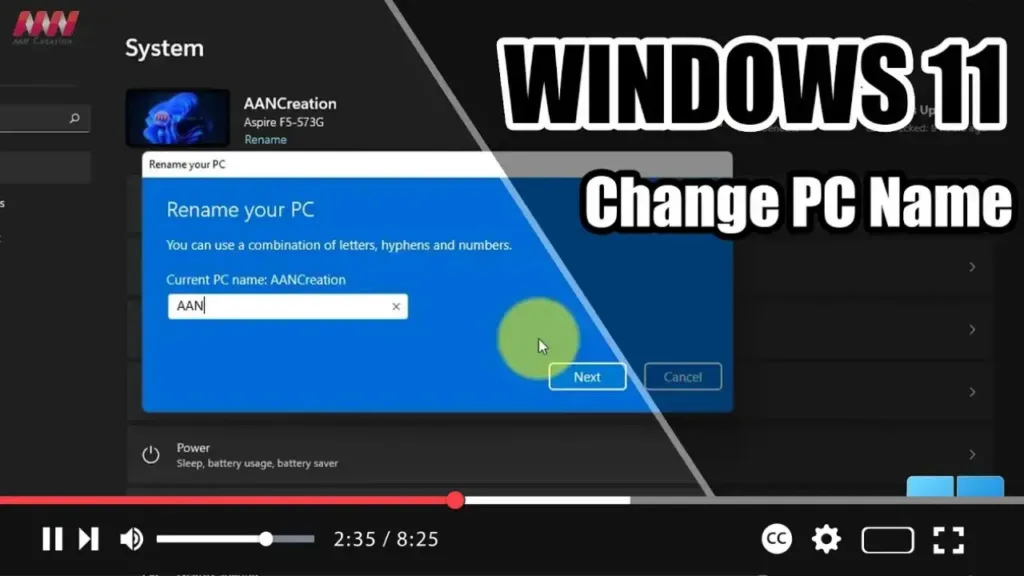
Step 03: Rename Your PC Click on Rename this PC, then enter the new name for your device, and click the Next button.
.webp)
Step 04: Restart Your PC Click the Restart now button.
Once you complete the steps, the computer will restart, and it will apply the new name. This will help keep your devices organized and make it easier to manage and use various features offered by Windows 11 and your Microsoft account.

