
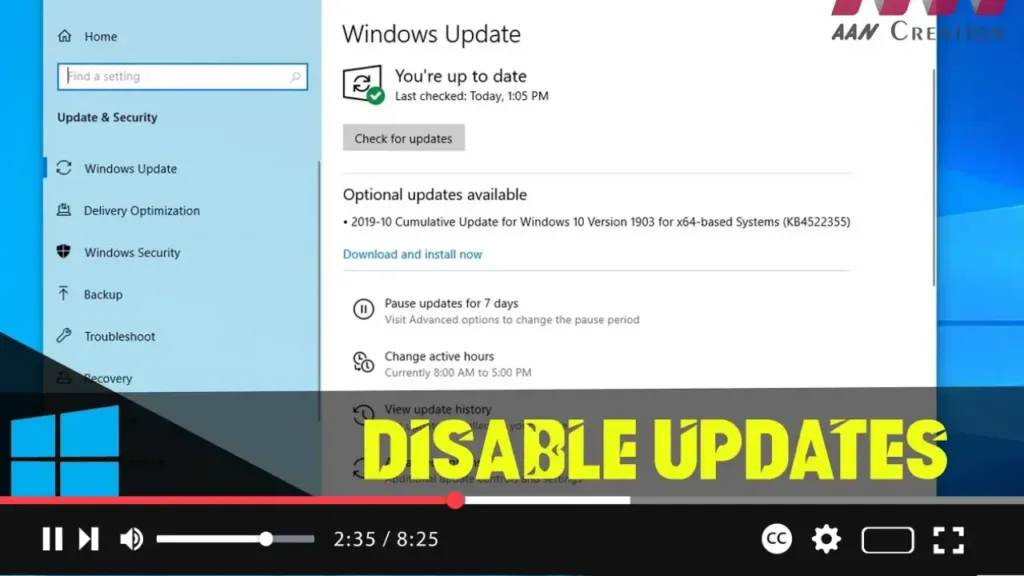

Windows 10 frequently receives updates that help keep your system secure and running smoothly. However, there might be times when you want to temporarily disable updates. This guide provides methods for disabling updates on both Windows 10 Pro and Home editions.
Introduction
Disabling updates in Windows 10 can be useful in scenarios where updates may disrupt your workflow, cause compatibility issues, or consume bandwidth. While Microsoft recommends keeping updates enabled for security reasons, you can disable them temporarily using the following methods.
Steps to Disable Updates on Windows 10 Pro
Step 01: Use Group Policy Editor
Open the Group Policy Editor by pressing the Windows key + R to open the Run dialog box. Type gpedit.msc and press Enter to open the Local Group Policy Editor.
Navigate to Windows Update Settings by going to Computer Configuration, then Administrative Templates, then Windows Components, and finally Windows Update.
Configure Automatic Updates by double-clicking on “Configure Automatic Updates” in the right pane. Select “Disabled” and click “Apply,” then “OK.” This setting disables automatic updates. You can re-enable them by selecting “Enabled” or “Not Configured” and applying the changes.
.webp)
Step 02: Use the Services Console
Open the Services Console by pressing the Windows key + R to open the Run dialog box. Type services.msc and press Enter to open the Services console.
Locate the Windows Update service by scrolling down the list of services.
Disable the Service by right-clicking on “Windows Update” and selecting “Properties.” In the “Startup type” dropdown menu, select “Disabled.” Click “Stop” if the service is running, then click “Apply” and “OK.”
Steps to Disable Updates on Windows 10 Home
Step 01: Use the Services Console
Open the Services Console by pressing the Windows key + R to open the Run dialog box. Type services.msc and press Enter to open the Services console.
Locate the Windows Update service by scrolling down the list of services.
Disable the Service by right-clicking on “Windows Update” and selecting “Properties.” In the “Startup type” dropdown menu, select “Disabled.” Click “Stop” if the service is running, then click “Apply” and “OK.”
.webp)
Step 02: Meter Your Internet Connection
Open Settings by pressing the Windows key + I. Go to “Network & Internet.”
Set Your Connection as Metered by clicking on “Wi-Fi” or “Ethernet” depending on your connection type. Click on the name of your network connection. Toggle the switch under “Set as metered connection” to “On.” This method limits background data usage, including automatic updates.
Additional Information
These methods temporarily disable updates. Microsoft may override these settings after some time, especially after a major update or system restart. Disabling updates can leave your system vulnerable to security threats. Ensure you re-enable updates periodically to keep your system secure. Even with updates disabled, you can manually check for and install updates through the “Windows Update” settings.
.webp)
Troubleshooting
If updates continue to download, double-check your settings and ensure the Windows Update service is disabled in the Services console. To re-enable updates, follow the same steps and change the settings back to their defaults or select “Enabled” in the Group Policy Editor for Windows 10 Pro.
By following these steps, you can effectively disable updates on both Windows 10 Pro and Home editions, giving you more control over when and how updates are applied to your system.

