

Encountering persistent malware on your Windows 11 system can be frustrating, but fear not! Microsoft Defender offers an offline scan feature to help you detect and remove stubborn threats effectively. Here’s a simple guide to using Microsoft Defender Offline scan:
Step 01: Open Windows Security: Start by opening the Windows Security app on your Windows 11 system.
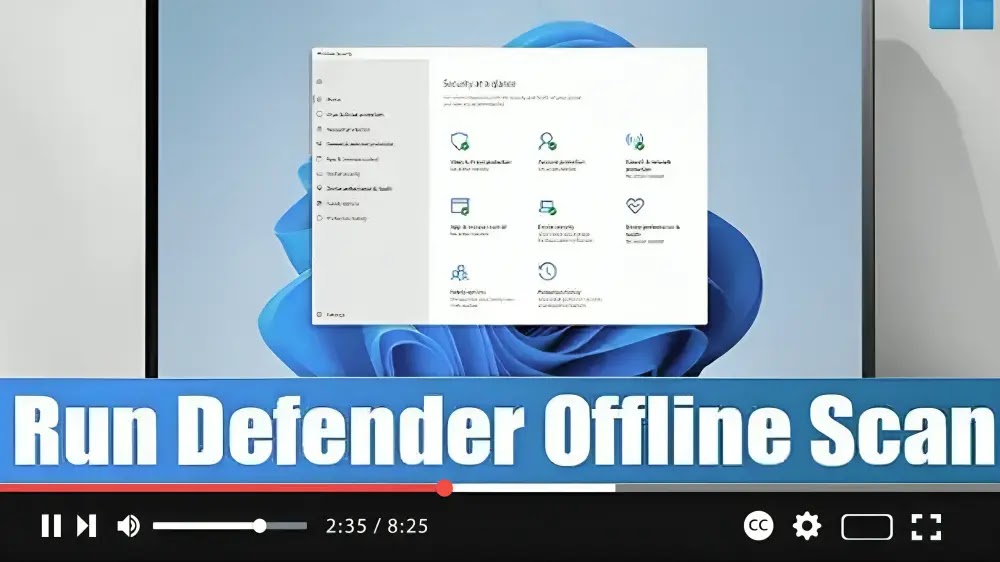
Step 02: Access Virus & Threat Protection: Within Windows Security, navigate to the “Virus & threat protection” section.
Step 03: Explore Scan Options: Under the “Current threats” section, locate and click on the “Scan options” link.
Step 04: Select Microsoft Defender Offline Scan: In the Scan options menu, check the box next to “Microsoft Defender Offline scan” to enable this feature.

Step 05: Initiate the Scan: After selecting Microsoft Defender Offline scan, click on the “Scan now” button to start the scan process.
Step 06: Confirm Scan: Confirm your action by clicking the “Scan” button.
After completing these steps, your computer will automatically restart in the recovery environment, and Microsoft Defender will initiate a full virus scan. During this process, the antivirus will thoroughly scan your system for viruses, rootkits, ransomware, and other types of malware. If any threats are detected, Microsoft Defender will take appropriate action to remove them automatically.
By using the Microsoft Defender Offline scan feature, you can effectively tackle persistent malware and ensure the security of your Windows 11 system.
Stay protected and keep your system malware-free!

