
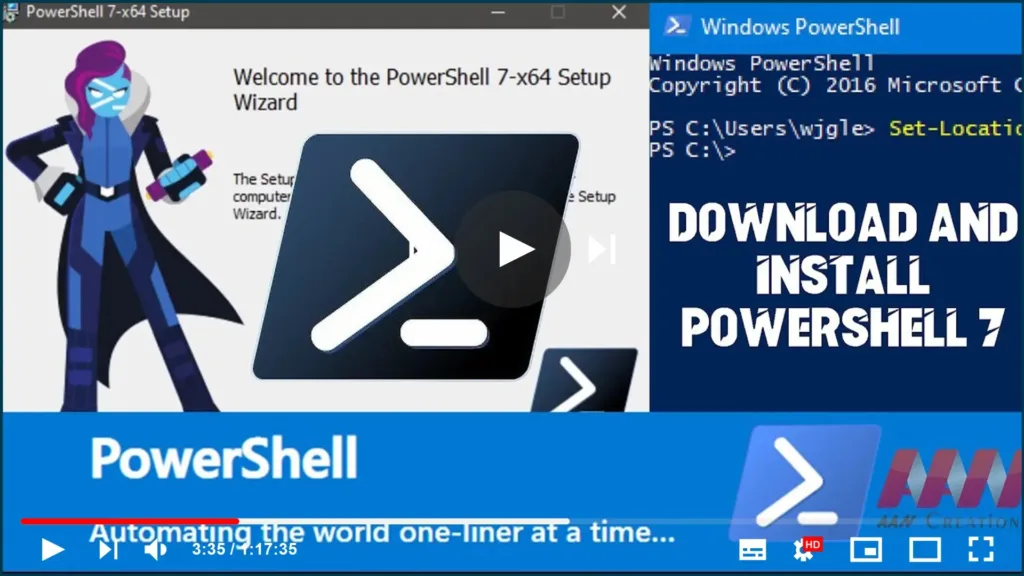

Microsoft has announced the general availability of PowerShell 7, so interested users can download and install it. This release contains many improvements and additions
PowerShell is an advanced form of command prompt. It is increased with a huge set of ready-to-use Commandlets & comes with the ability to use a .NET framework or C# in various scenarios. Windows update a Graphical user interface (GUI) tool, PowerShell ISE, which allows editing and debugging scripts.
PowerShell 7, as well known as PowerShell Core, is a cross-platform scripting solution available.
Now utilizes .NET Core 3.1 but keeps backward compatibility with modules older available for the classic PowerShell product. Also, PowerShell launched a new argument, -UseWindowsPowerShell, to force run Commandlets under the classic engine.
In this guide, you’ll learn the steps To Download and Install PowerShell 7 in Windows 10. Use these steps
01. Visit the PowerShell release Page on GitHub.
-
1.97 KB6 days ago
-
36.2 MB6 days ago
-
67.8 MB6 days ago
-
67.4 MB6 days ago
-
66 MB6 days ago
-
65 MB6 days ago
-
23.2 MB6 days ago
-
68.4 MB6 days ago
-
62.4 MB6 days ago
-
62.1 MB6 days ago
-
6 days ago
02. For the latest release section, scroll down to Assets and expand them.
03. Click on either the PowerShell-7.0.0-win-x64.msi or PowerShell-7.0.0-win-x86.msi file that matches your 32-bit or 64-bit Windows version.
04. When downloaded, double-click on the MSI file to execute it.
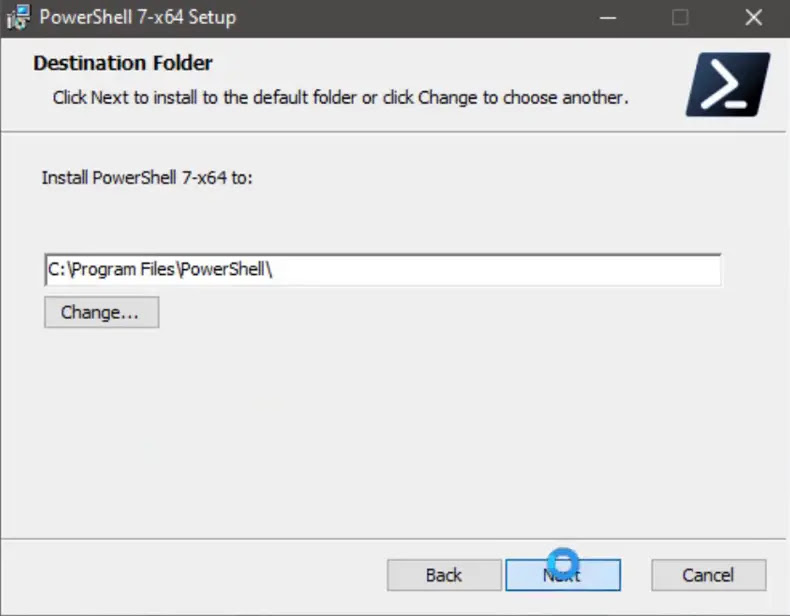
05. Follow the installer steps. may change the default installation directory if want,
06. customize its basic settings.
07. If prompted by UAC, click on Yes to approve.
08. On the last page, enable the checkbox Launch PowerShell if you want to open PowerShell 7 now.
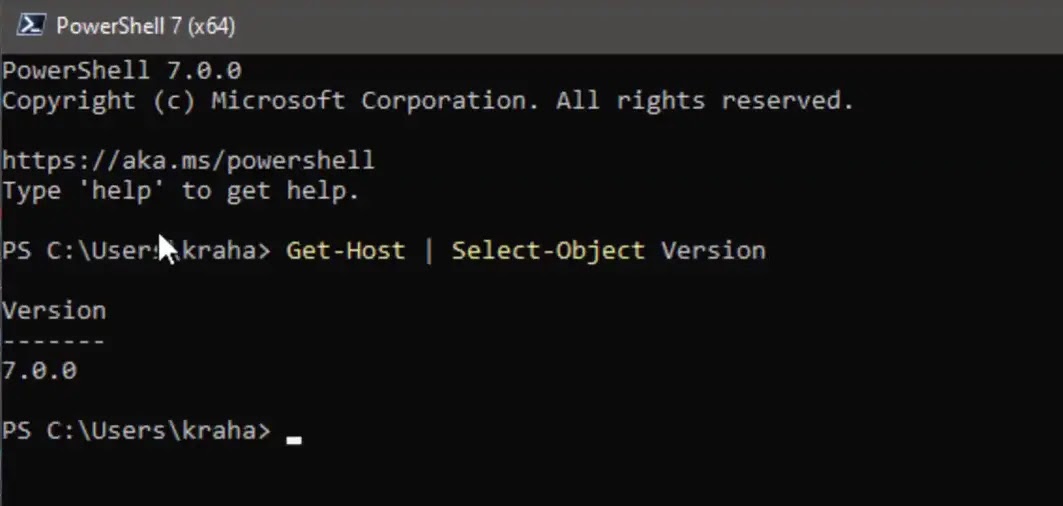
Once you complete the steps, you can use PowerShell 7

