

Enabling the dark theme on Windows Terminal can make your working environment more visually appealing and reduce eye strain, especially in low-light conditions. Here’s a step-by-step guide to help you switch to the dark theme in Windows Terminal.
Step 01: Open Windows Terminal
First, open Windows Terminal:
- Click on the Start button.
- Search for Windows Terminal and open it.
Step 02: Open Settings
Next, access the settings of Windows Terminal:
- Click on the down-arrow button next to the plus (+) tab button.
- Select Settings from the dropdown menu.
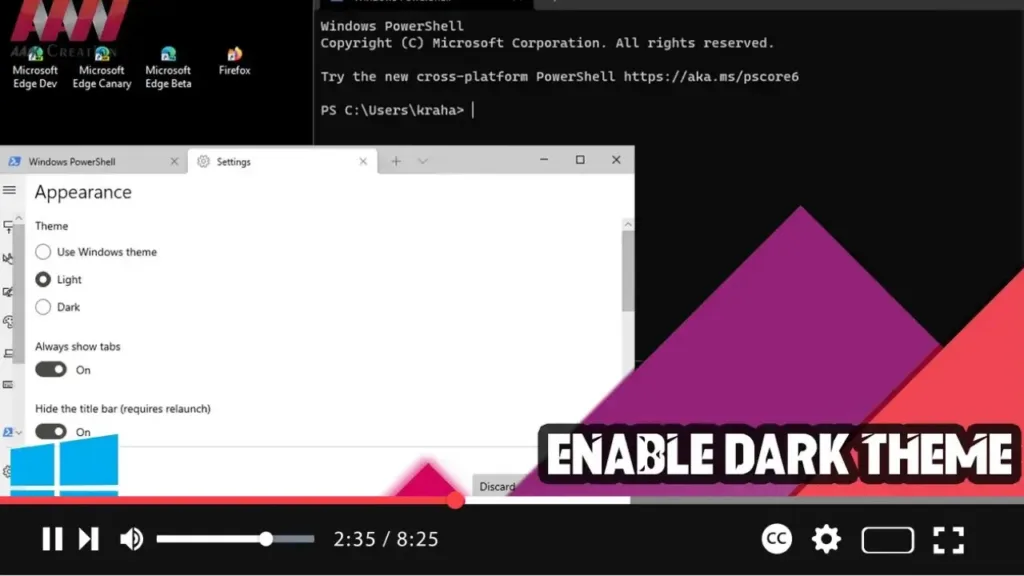
Step 03: Navigate to the Appearance Settings
In the Settings tab:
- Select Appearance from the left-hand menu.
Step 04: Choose the Dark Theme
Under the Theme section:
- Select the Dark option to enable the dark theme.
Step 05: Save and Apply the Changes
To apply the changes:
- Click the Save button at the bottom right of the settings pane.
.webp)
Alternative Method: Using JSON File
If you prefer to edit the settings directly in the JSON configuration file, follow these steps:
Step A: Open Settings JSON File
- In the Settings tab, click on Open JSON file to open the
settings.jsonfile in your default text editor.
Step B: Edit the JSON File
Add or modify the "theme" setting:
- Find the
"defaults"section in the JSON file. - Add
"theme": "dark",to enable the dark theme. It should look something like this:json"profiles": { "defaults": { "theme": "dark" },
Step C: Save and Close the File
- Save the changes to the
settings.jsonfile and close the text editor.
Step D: Restart Windows Terminal
- Close Windows Terminal and reopen it to apply the new theme settings.
By following these steps, you can easily enable the dark theme on Windows Terminal, enhancing your user experience and making it easier to work in different lighting conditions.

