

Looking to run untrusted applications in a safe environment without risking your main Windows installation? Windows Sandbox has got you covered. It provides a minimal, isolated installation of Windows 11, perfect for testing applications without exposing your device to potential threats.
Here’s how you can enable Windows Sandbox on your Windows 11 Pro or Enterprise system:
Step 01: Open Start Menu: Begin by opening the Start menu on your Windows 11 system.
Step 02: Access Windows Features: In the search bar of the Start menu, type “Turn Windows features on or off” and select the top result to open the Windows Features experience.
Step 03: Enable Windows Sandbox: Within the Windows Features window, locate and check the box next to “Windows Sandbox” to enable the feature.
Step 04: Apply Changes and Restart: After enabling Windows Sandbox, click on the “OK” button to apply the changes. You’ll then be prompted to restart your computer. Click on the “Restart now” button to initiate the restart process.

Step 05: Launch Windows Sandbox: Once your system has restarted, you can start Windows Sandbox from the Start menu. Simply search for “Windows Sandbox” and select it from the search results.
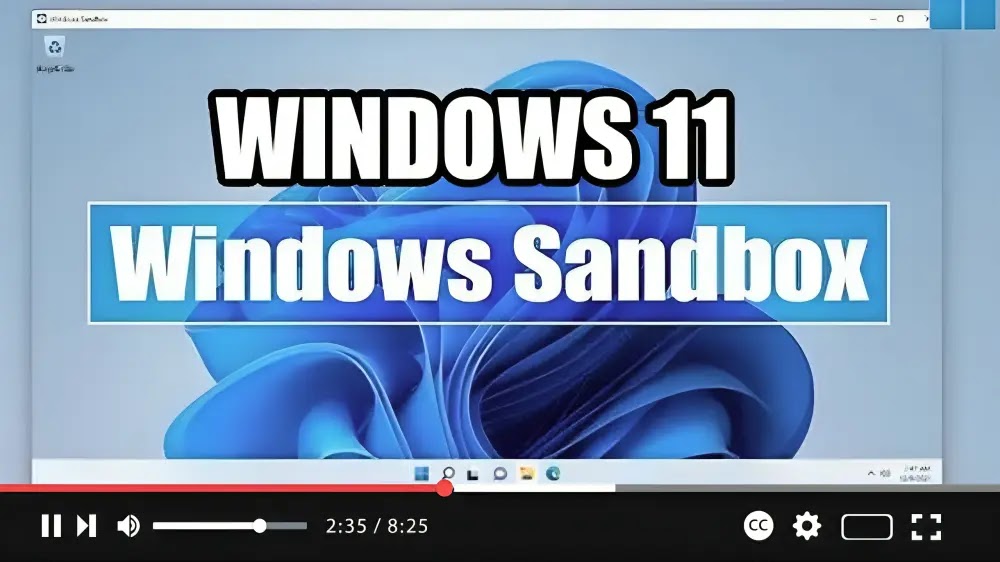
Step 06: Test Untrusted Applications: Upon launching Windows Sandbox, you’ll be presented with a clean Windows desktop environment. Here, you can safely install and run untrusted applications without affecting your main Windows installation.
Step 07: Cleanup: When you’re done testing applications in Windows Sandbox, simply close the application window. This action will delete the entire virtual machine, along with any installed applications or files, ensuring a fresh start for your next testing session.
By following these steps, you can easily enable and utilize Windows Sandbox on your Windows 11 Pro or Enterprise system. Enjoy the peace of mind knowing that you can test applications safely in an isolated environment without compromising the security of your main Windows installation.
Happy sandboxing!

