

The BIOS (Basic Input/Output System) or UEFI (Unified Extensible Firmware Interface) handles the startup process of your computer, initializing hardware before passing control to your operating system. A faster boot time means your system gets to the OS quicker, reducing the time spent in BIOS.
If you’re curious about your last BIOS boot time in Windows 10, it’s easy to find using Task Manager. The “Last BIOS time” is displayed in seconds and reflects how long the system spent in the BIOS during the startup process.
Here’s how to check it:
Steps to Find the Last BIOS Boot Time in Windows 10
Step 01: Open Task Manager
- Right-click on the Taskbar and select Task Manager from the context menu.
- Alternatively, you can press Ctrl + Shift + Esc to open Task Manager directly.
Step 02: Switch to Full View
- If Task Manager opens in a simple view, click on the More details link in the bottom-left corner to expand it to full view.

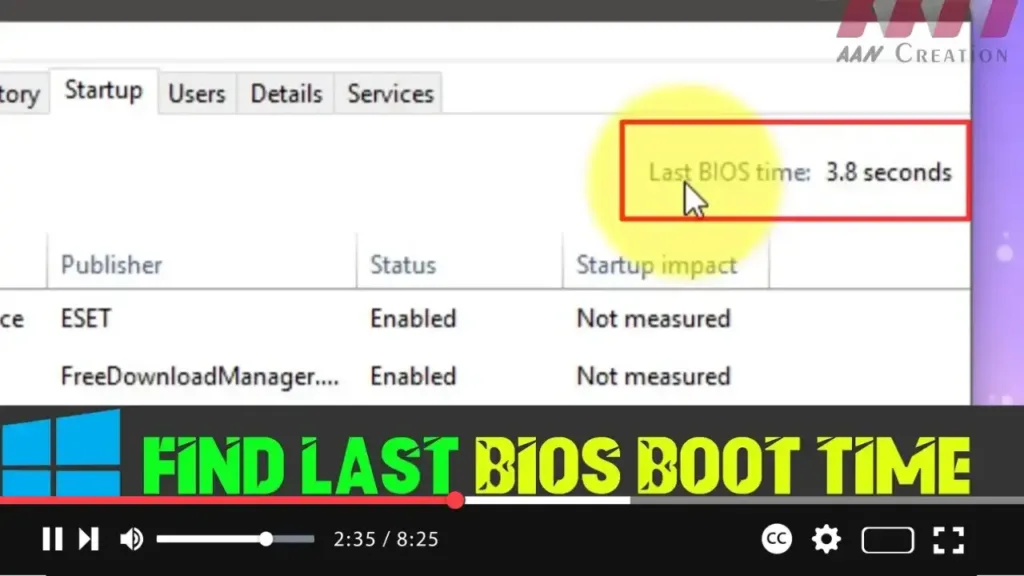
Step 03: Go to the Startup Tab
- In the expanded Task Manager window, click the Startup tab.
Step 04: Find the Last BIOS Boot Time
- On the top-right corner of the Startup tab, you’ll see a value labeled Last BIOS time.
- This value is the time (in seconds) that your system spent in the BIOS during the last boot.
What If the Last BIOS Time Is Blank?
If the Last BIOS time is blank or not shown, it could mean that your motherboard’s UEFI firmware does not support this feature, and therefore, Windows 10 cannot retrieve this data.
Tips to Reduce BIOS Boot Time:
- Enable Fast Startup: This feature can help speed up your boot time.
- Disable Unused Devices/Ports: Unplugging or turning off devices not in use can shorten boot time.
- Adjust Boot Order: Set the primary boot device to your main drive to avoid scanning other devices.

