


The Registry is a database that stores Windows working framework and
application settings. Here and there, you have to change those qualities
physically. ‘Can’t alter Registry’ is a blunder you’ll confront when you
attempt to alter a key in Registry however you don’t have the fundamental
consents to do it.
Instructions to alter any Registry key
You can begin altering any Registry key you need by picking up the
consent to do it. Before you follow the bit-by-bit manual to gain consent,
you should realize that altering the Registry is an extremely hazardous
activity.
consent to do it. Before you follow the bit-by-bit manual to gain consent,
you should realize that altering the Registry is an extremely hazardous
activity.
In the event that you alter it without knowing explicitly what to do, you
can break your PC. You should try to make a reestablish point, reinforce
your Registry, and alter with extraordinary alert.
can break your PC. You should try to make a reestablish point, reinforce
your Registry, and alter with extraordinary alert.
Fix ‘Can’t alter Registry’ through Advanced Security Settings
You can change the proprietor of the Registry keys or organizer to
yourself. This will give you control to alter, erase, or embed enters in
the envelope. The main destruction of this strategy is that you need to
rehash the means for every organizer you need to alter. Here’s the way you
do it:
yourself. This will give you control to alter, erase, or embed enters in
the envelope. The main destruction of this strategy is that you need to
rehash the means for every organizer you need to alter. Here’s the way you
do it:
01. Quest for Regedit in Start and right-click on it, and from the menu,
you should tap on Run as overseer.
you should tap on Run as overseer.
02. Explore the organizer you need to alter.
03. Right-click on the organizer and afterward click on
Permissions.
Permissions.
04. The Permissions window will open, click on the Advanced catch close
to the base right corner.
to the base right corner.
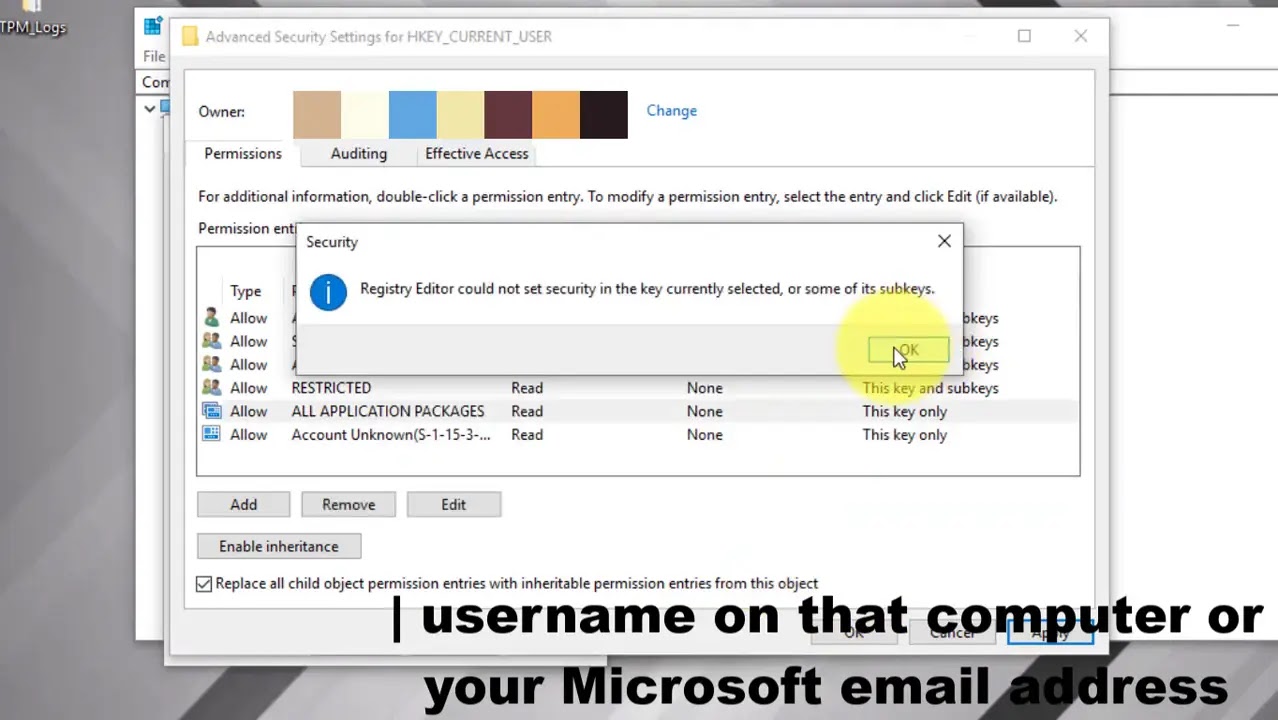
05. The Advanced Security Settings will open. At the highest point of the
window, you’ll see, “Proprietor: [name]”, where [name] is in all
likelihood the name of the program that made the organizer. Snap-on the
Change Link.
window, you’ll see, “Proprietor: [name]”, where [name] is in all
likelihood the name of the program that made the organizer. Snap-on the
Change Link.
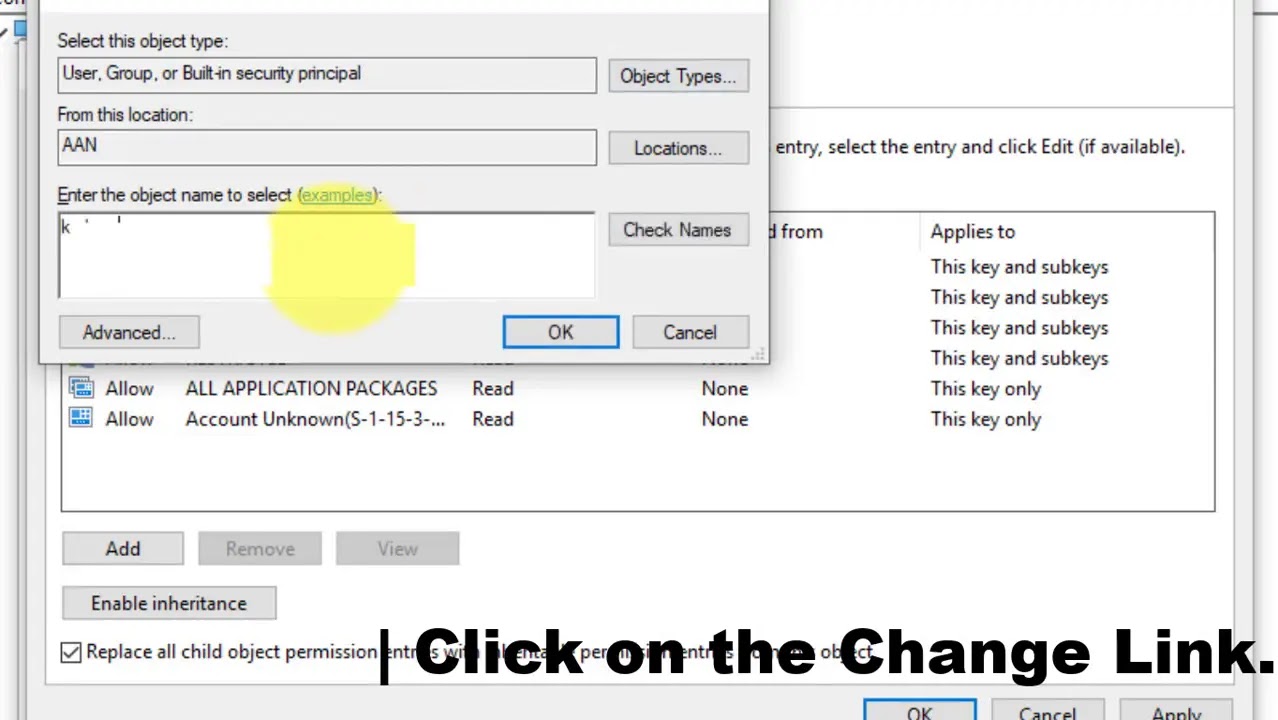
06. In the Select User or Group structure, under entering the item name
to choose, demonstrate your username on that PC or your Microsoft email
address on the off chance that it is related to your PC. You at that point
need to tap on Check Names.
to choose, demonstrate your username on that PC or your Microsoft email
address on the off chance that it is related to your PC. You at that point
need to tap on Check Names.
07. Snap OK both on the Select User or Group window and the Advanced
Security Settings window.
Security Settings window.
08. Before shutting the Permissions Window, select Users from the Group
or client names rundown and check the crate into account Full Control.
From that point forward, close the window by clicking OK.
or client names rundown and check the crate into account Full Control.
From that point forward, close the window by clicking OK.
(adsbygoogle = window.adsbygoogle || []).push({});
You presently have full access to the organizer. All the more explicitly,
the present client has full control. In the event that you are utilizing
more than one client on your PC, you need to rehash these means each time
you get to an organizer that is possessed by a program or the other
client.
the present client has full control. In the event that you are utilizing
more than one client on your PC, you need to rehash these means each time
you get to an organizer that is possessed by a program or the other
client.

