

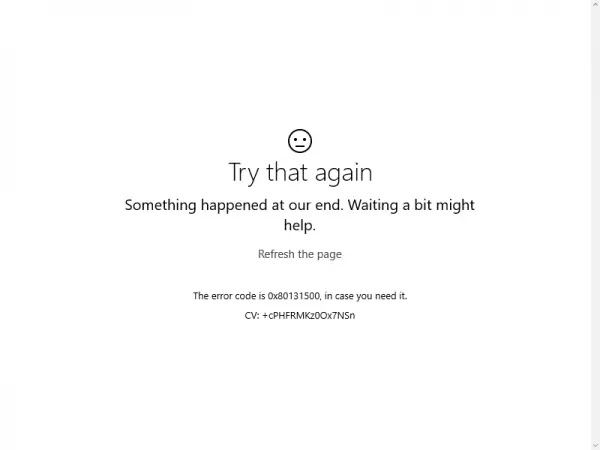
Fix Windows Store Error Code 0x80131500
This error code does not allow users to download or update the apps they have already installed. This can be quite annoying when you consider the fact that apps on the Windows Store are updated regularly and that new updates usually bring loads of new features.
There are several solutions to this particular problem so make sure you follow them one by one in order to come out on top and get rid of this error code once and for all.
Method 01
01. Press Network access ICON
02. Go to Network & Internet Settings
03. Press Network Reset and wait for Reset Automatically
04. Run Complete internet repair Software
05. Tick all Options and Press Go Button
06. Just Open the Windows Store to Check Working or Not
Fix Windows Store Error Code 0x80131500
This error code does not allow users to download or update the apps they have already installed. This can be quite annoying when you consider the fact that apps on the Windows Store are updated regularly and that new updates usually bring loads of new features.
There are several solutions to this particular problem so make sure you follow them one by one in order to come out on top and get rid of this error code once and for all.
Method 1: Reset the Windows Store Cache
If the Store’s cache is giving you trouble, use this simple command to clear it. Similar issues are usually resolved by resetting the cache because they are caused when the Store is used excessively and its cache becomes larger than recommended. This may cause problems with your Windows Store and the Windows Update service, resulting in the message being displayed frequently.
- Click on your Start menu and type the “wsreset” command. When you type this in, the first result should be “wsreset – Run command.”
- Click this to clear the Store’s cache.
- Restart your computer to apply these changes, and then open Store to see if your downloads and updates are working again.
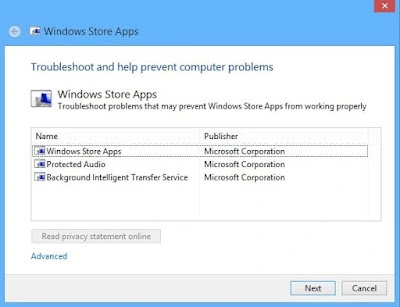
Method 2: Use This Useful Troubleshooter
Microsoft has posted a useful app troubleshooter on their main support website for you to download and use to resolve various issues with the Windows Store and the apps associated with it. Follow the steps below to learn more.
- Follow this link to download and run the Windows app troubleshooter.
- Run it and follow the on-screen instructions to finish the process. The troubleshooter should resolve any issues that it is capable of resolving automatically and without your intervention.
Method 3: Create a New User Account On Your PC
Typically, creating a new user account assisted users in resolving an issue with their account. The user account they were using to access the Store in the first place appears to have become corrupt, and users are now unable to download or update any apps at all. They have also stated that creating a new account resolved their problem.
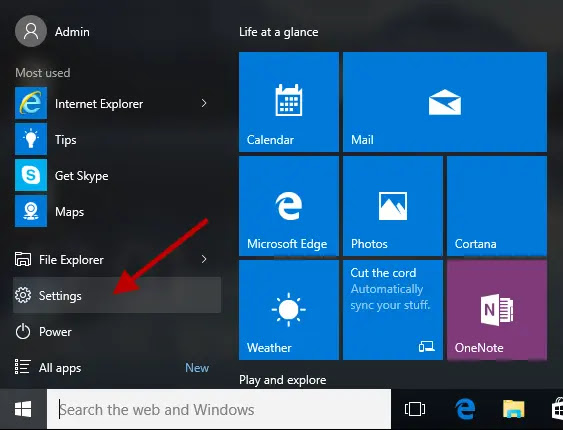
- Open Settings by clicking on the gear icon in the Start menu, just above the power button, or by searching for it in the search bar.
- Select the Family and other people option in the Accounts section of Settings.
- Choose the Add someone else to this PC option located there.

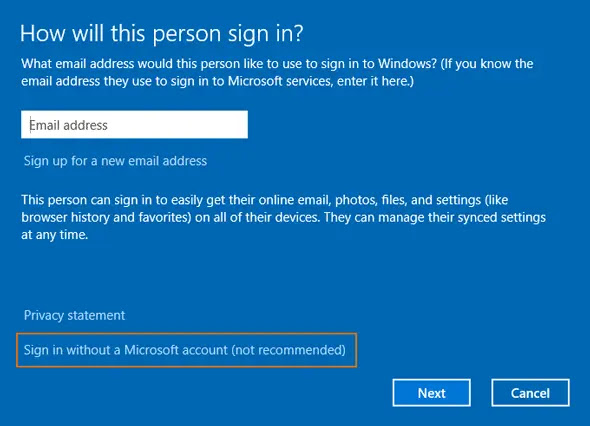
- You will need to provide info about the account you are about to add in this process by doing it according to the instructions below:
- If the account you’re adding already exists under a Microsoft email, enter it now.
- If the account you’re adding isn’t a Microsoft account, enter the email address you want to use. Make sure you choose a valid email
- Click Sign up for a new email address if you want to create a new email address directly from the Add an account menu.
- Adding a child’s account is useful if the user you are creating the account for is a child.
- Follow the instructions to finish setting up the account.
- Open Settings by clicking on the gear icon in the Start menu, just above the power button, or by searching for it in the search bar.
(adsbygoogle = window.adsbygoogle || []).push({});
- Select the Other accounts option in the Accounts section of Settings.
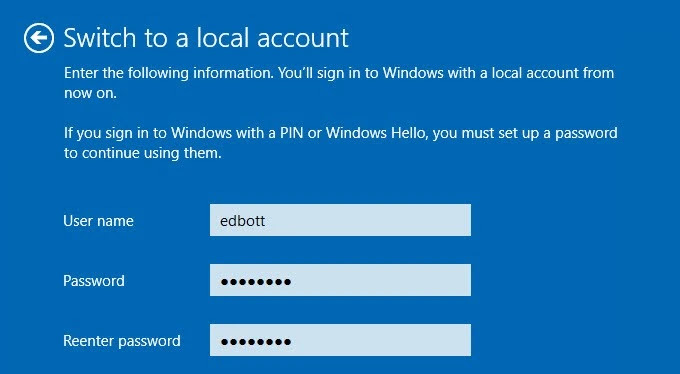
- Select the Add an account option, and then select the Sign in without a Microsoft account option, which is generally not recommended.
- Create a Local account and proceed.
- Enter a username for this new account.
- If you want this account to be password-protected, you can add a character password, and a password hint, and proceed by clicking Next.
- Click the Finish button in order to finish creating a new account.
Method 4: Change the Location of Your Computer
Others have reported that changing your computer’s location in your settings enabled you to use the Store. It turns out that new updates have rendered Store unavailable in certain parts of the world, and users who were using a fictitious location are now unable to connect to Store services at all. To change your location, follow the steps outlined below.
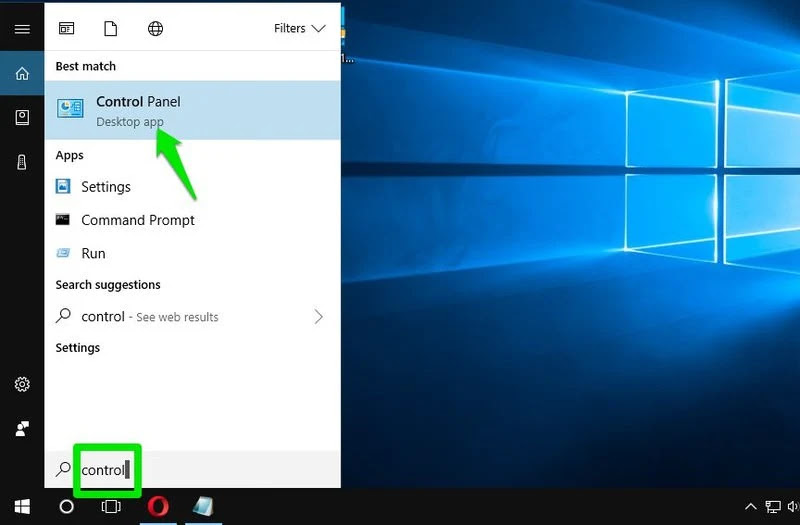
- Open Control Panel by searching for it in the taskbar’s search bar or the Start menu.
- In the Control Panel, change the View by option to Category and select the Clock, Language, and Region section from the list.
- Locate the Region subsection and select the Change location option.

- Choose your real location or at least the one which is stated in the email you used for your Microsoft account.
You should also double-check your time and date settings, as they can cause a slew of problems if they are set incorrectly. To reset your date and time settings, follow the steps below:
- Open the Start menu, then the Settings app by clicking on the gear icon above the power icon, selecting the Time & language option, and navigating to the Date & time tab.

- Check the Date and Time tab to ensure that your computer’s date and time are set to the location you specified. If the time is incorrect, try disabling the Set time automatically option.
- To complete the process, select the appropriate time zone from the dropdown list. After you’ve finished, restart your computer and try again to open Windows Store.
Note: If the Store still won’t work for your real location, try setting your location and your time zone to the Unites States.
Method 5: Change Your DNS Settings
If the updating process failed due to your ISP (Internet Service Provider), simply change the default DNS server to a public one to successfully install the update. If something goes wrong, you can easily reverse the process.
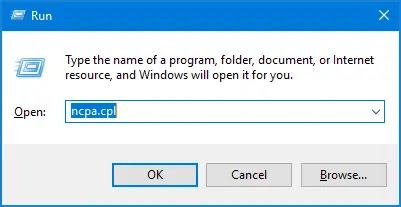
- By pressing the Windows logo key + R simultaneously, you can access the Run dialog box. Then enter “ncpa.cpl” and press OK.
- Double-click on your active Network Adapter now that the Internet Connection window is open.
- Then, under Properties, double-click on Internet Protocol Version 4 (TCP/IPv4).

- Locate Use the following DNS server addresses option.
- Set Preferred DNS server to be 8.8.8.8
- Set the Alternate DNS server to be 8.8.4.4
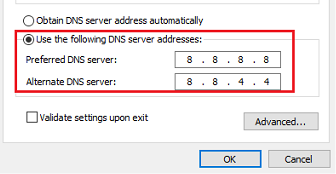
Note: That’s Google’s public DNS server address.
- Now try to install Windows Updates again.

