

Removing temporary files on Windows 10 can free up disk space, improve system performance, and help maintain your computer’s overall health. This guide will show you how to remove temporary files using built-in Windows tools.
Introduction
Temporary files are created by Windows and various applications to store intermediate data. Over time, these files can accumulate and take up valuable disk space. Regularly cleaning up temporary files can help keep your system running smoothly.
Steps to Remove Temporary Files on Windows 10
Step 01: Use Disk Cleanup Utility
Step 01.01: Open Disk Cleanup
Press the Windows key + S to open the search bar and type “Disk Cleanup.” Select the “Disk Cleanup” app from the search results.
.webp)
Step 01.02: Select Drive
In the Disk Cleanup window, select the drive you want to clean (typically the C: drive) and click “OK.”
Step 01.03: Select Files to Delete
Disk Cleanup will calculate the amount of space you can free up. Once it’s done, a list of file types will appear. Check the boxes next to “Temporary files,” “Temporary Internet files,” “System created Windows Error Reporting,” and any other file types you want to delete.
Step 01.04: Delete Files
Click “OK” and then “Delete Files” to confirm. Disk Cleanup will remove the selected files.
Step 02: Use Storage Sense
Step 02.01: Open Settings
Press Windows key + I to open the Settings app.
Step 02.02: Navigate to Storage Settings
Go to “System” and then select “Storage” from the left sidebar.
Step 02.03: Configure Storage Sense
Under the “Storage” section, find and click on “Configure Storage Sense or run it now.”
Step 02.04: Enable Storage Sense
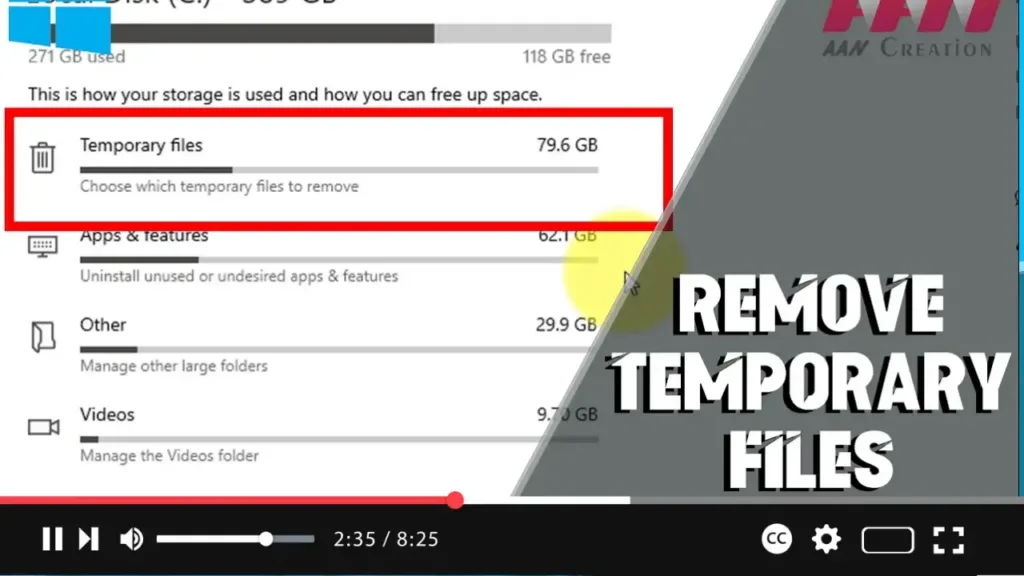
Toggle the switch to turn on Storage Sense. You can configure how often Storage Sense runs and what types of files it deletes. To manually run Storage Sense, click “Clean now” under the “Free up space now” section.
.webp)
Step 03: Manually Delete Temporary Files
Step 03.01: Open Run Dialog
Press Windows key + R to open the Run dialog box.
Step 03.02: Open Temp Folder
Type %temp% and press Enter. This will open the temporary files folder.
Step 03.03: Select and Delete Files
Select all files in the folder by pressing Ctrl + A and then press Delete to remove them. You might need administrative permissions to delete some files.
Step 03.04: Repeat for Temp Folder
Repeat the process for the system-wide temporary files folder. Open the Run dialog again, type temp, and press Enter. Delete the files in this folder as well.
.webp)
Additional Information
Using Third-Party Tools: Tools like CCleaner can help automate and enhance the process of cleaning temporary files, providing more options and a user-friendly interface.
Regular Maintenance: Schedule regular cleanups using Storage Sense or perform manual cleanups periodically to keep your system optimized.
Check for Residual Files: After major updates or software installations, check for residual files in temporary folders to free up additional space.
Caution: Be careful when deleting files from temporary folders. While most can be safely deleted, some may be in use by running applications. If prompted, skip those files.
By following these steps, you can effectively remove temporary files on Windows 10, ensuring your system stays clean and performs optimally.

