
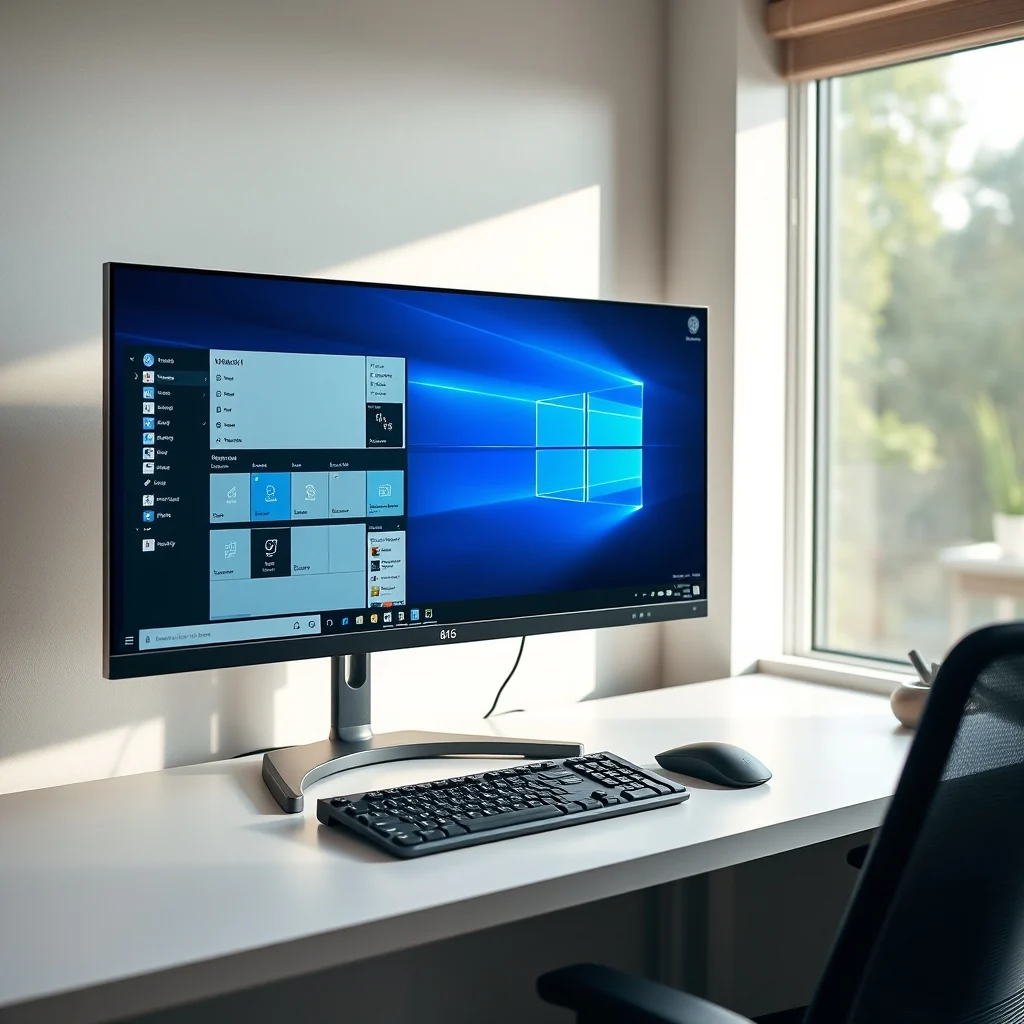
Juggling multiple open windows on a single monitor often leads to cluttered screens and lost focus. Windows 11 solves this problem with two built-in organizational features: Snap Layouts and Virtual Desktops. Setting them up takes less than five minutes and requires no third-party software.
Configuring Snap Settings in Windows 11
Before using Snap Layouts, verify that the snapping engine is fully active and customized to your preferences.
- Press Windows Key + I to open the Settings app.
- Navigate to System > Multitasking.
- Click the toggle switch next to Snap windows to turn it On.
- Click the dropdown arrow next to the toggle to view advanced behaviors. Ensure the following checkboxes are ticked:
- When I snap a window, show what I can snap next to it
- Show snap layouts when I hover over a window’s maximize button
- Show snap layouts when I drag a window to the top of my screen
Three Ways to Use Snap Layouts
Snap Layouts allow you to arrange open windows into distinct screen zones, such as split-screen halves, thirds, or quadrants.
1. The Maximize Button Hover Method
Open any standard application window, such as File Explorer or a web browser. Move your mouse pointer over the Maximize button (the square icon located between Minimize and Close in the upper-right corner) and hold it there for one second without clicking. A pop-up menu showing available grid configurations will appear. Click the specific zone where you want that application to rest. Windows will immediately dock the app and display thumbnails of your other open windows to fill the remaining zones.
2. The Drag-to-Top Method
Click and hold the title bar of any active window, then drag it straight up to the top center edge of your display. A drop-down tray revealing available grid layouts will slide down from the top bezel. Drag your cursor inside one of the layout zones and release the mouse button to dock the window.
3. The Keyboard Shortcut Method
For keyboard-driven workflows, press Windows Key + Z while viewing an active window. A small layout grid will overlay on your screen with numbered zones. Press the number corresponding to your chosen layout, then press the secondary number indicating the exact section you want the window to occupy.
Why this works: Windows automatically calculates display resolution and aspect ratio to partition screen coordinates evenly, preventing overlapping edges and eliminating manual window resizing.
Organizing Workspaces with Virtual Desktops
Virtual Desktops let you create separate workspaces for distinct tasks, such as separating daily office work, research projects, and personal browsing.
Creating and Managing Desktops
- Click the Task View icon on your taskbar (two overlapping rectangles) or press Windows Key + Tab.
- At the bottom of the screen, click the New desktop button (labeled with a plus sign).
- Right-click the newly created desktop thumbnail and select Rename to assign it a practical name like “Finance” or “Drafting”.
- Right-click the thumbnail again and select Choose background if you wish to apply distinct desktop wallpapers to each workspace for instant visual recognition.
Navigating Between Desktops
You can transition smoothly across your workspaces without opening the Task View menu using fast keyboard shortcuts:
- Create a new virtual desktop instantly: Windows Key + Ctrl + D
- Switch to the next desktop to the right: Windows Key + Ctrl + Right Arrow
- Switch to the next desktop to the left: Windows Key + Ctrl + Left Arrow
- Close the current virtual desktop: Windows Key + Ctrl + F4 (any active windows on that desktop will automatically merge into the adjacent desktop rather than closing).
Warning: Running dozens of heavy programs distributed across multiple virtual desktops will still consume significant physical RAM and CPU cycles, which can cause system stuttering on PCs with 8 GB of RAM or less.
Quick Feature Reference
- Settings Menu: Settings > System > Multitasking
- Snap Menu Shortcut: Windows Key + Z
- Task View Shortcut: Windows Key + Tab
- Create Virtual Desktop: Windows Key + Ctrl + D
- Cycle Desktops: Windows Key + Ctrl + Left/Right Arrow
- Close Current Desktop: Windows Key + Ctrl + F4
Pairing structured Snap Layouts with dedicated Virtual Desktops builds an orderly digital environment that reduces window management fatigue. Once these key combinations and hover actions become second nature, navigating heavy multitasking days becomes substantially faster and far more comfortable.