

Animated GIFs can be entertaining, but they can also be distracting and consume significant bandwidth. If you want to prevent animated GIFs from playing automatically in the Chrome browser, follow the steps outlined in this guide.
Introduction
Automatically playing animated GIFs can slow down your browsing experience and be visually distracting. Fortunately, there are ways to stop GIFs from playing automatically in Google Chrome by using extensions or modifying browser settings.
Steps to Stop Animated GIFs From Playing Automatically on Chrome Browser
Step 01: Use a Chrome Extension
One of the easiest ways to control GIF playback is by using a Chrome extension designed for this purpose.
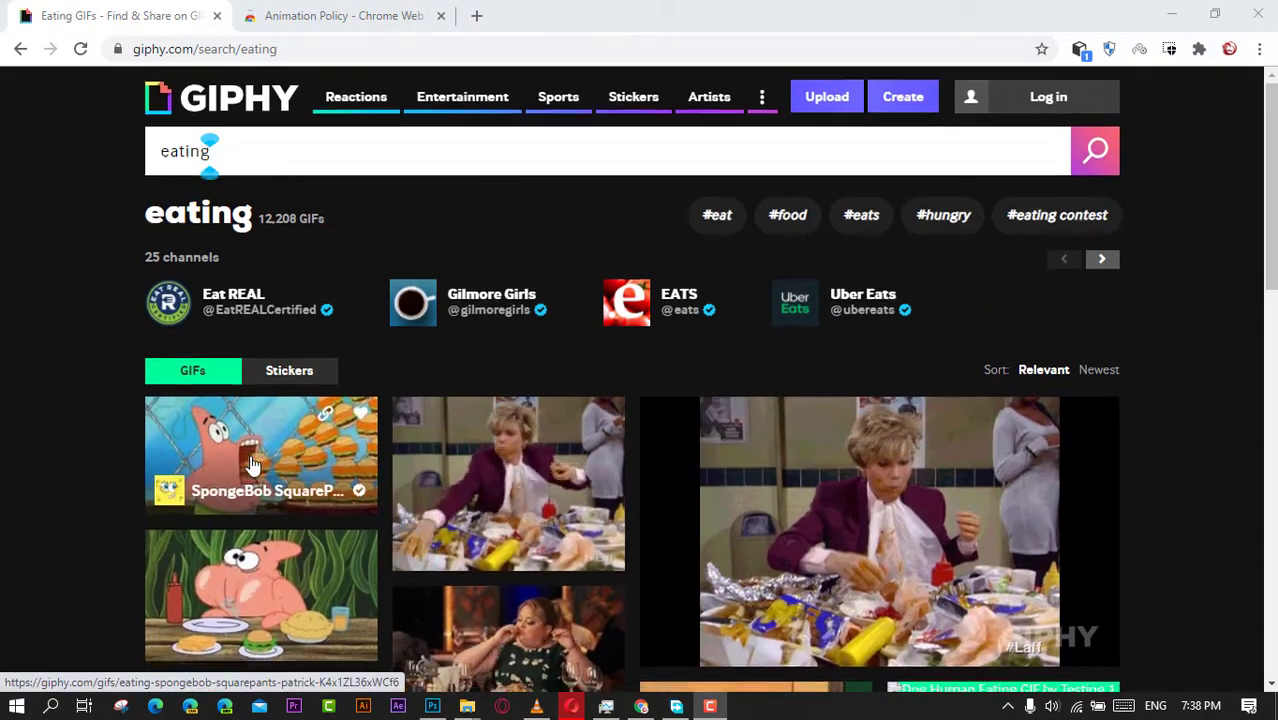
- Open Google Chrome and go to the Chrome Web Store by typing
chrome.google.com/webstorein the address bar and pressing Enter. - In the search bar of the Chrome Web Store, type “Gif Jam (Animation Stopper)” or “Stop Animations” and press Enter.
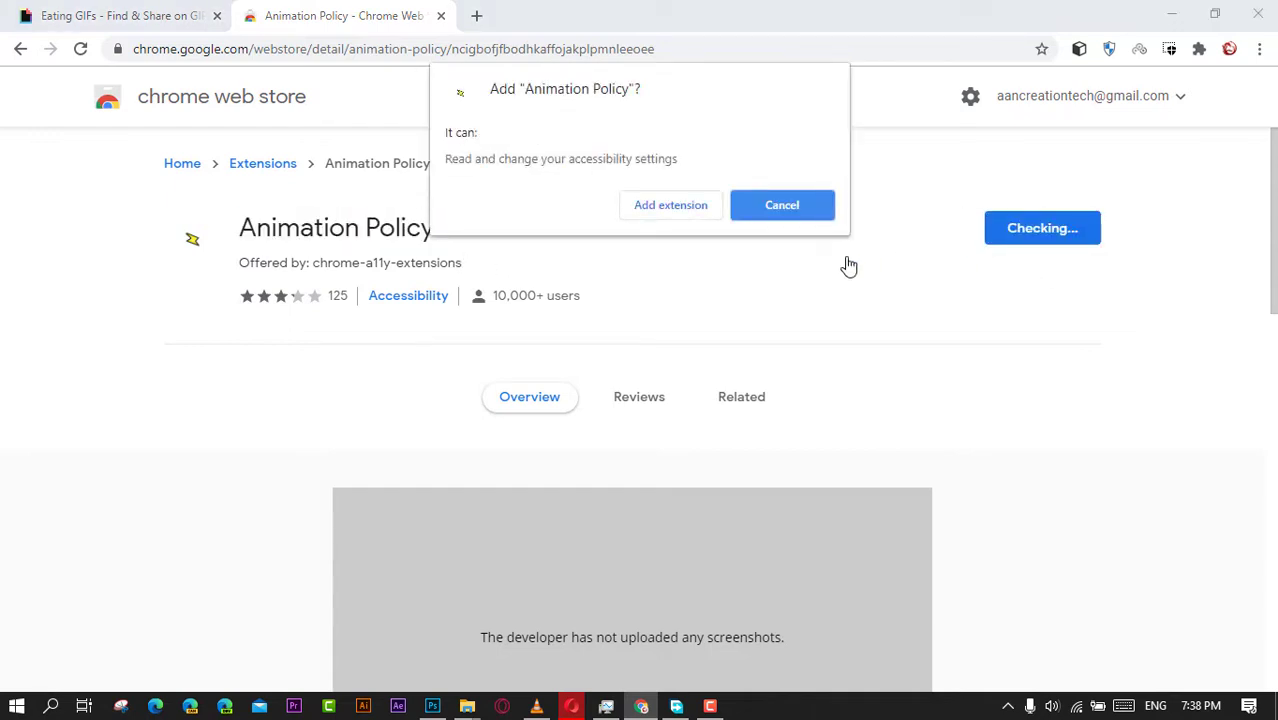
- Select an appropriate extension from the search results, such as “Gif Jam (Animation Stopper).”
- Click on the extension and then click the “Add to Chrome” button. Confirm by clicking “Add extension.”
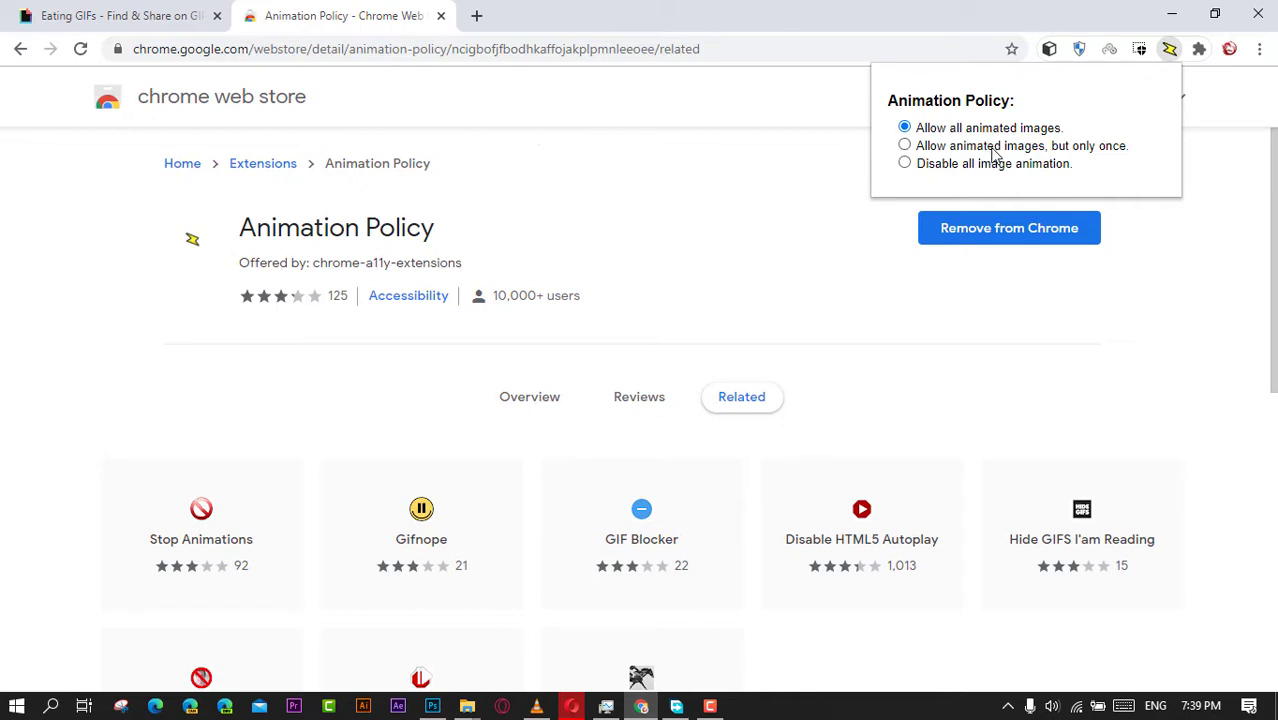
Once the extension is installed, it will automatically stop GIFs from playing on web pages you visit. You can toggle the extension on and off as needed.
Step 02: Use Chrome’s Experimental Features (Flags)
If you prefer not to use an extension, you can modify Chrome’s experimental settings to stop GIFs.
- Open Google Chrome and type
chrome://flagsin the address bar, then press Enter. - Use the search bar at the top of the page to search for “Animated images.”
- Locate the “Disable image animation” flag and set it to “Enabled” from the dropdown menu.
- Click the “Relaunch” button at the bottom of the page to restart Chrome and apply the changes.
Step 03: Disable GIFs Using Ad Blockers
Some ad blockers also offer features to block or stop animations.
- Open Google Chrome and go to the Chrome Web Store.
- Search for “uBlock Origin” or another reputable ad blocker.
- Install the ad blocker by clicking “Add to Chrome” and confirming by clicking “Add extension.”
- Open the settings for the ad blocker by clicking its icon in the Chrome toolbar.
- Look for options to block animations or GIFs and enable them.
Step 04: Use Developer Tools for Specific Pages
For a temporary solution on a specific page, you can use Chrome’s Developer Tools.
- Open the web page containing the GIFs.
- Press
Ctrl + Shift + I(Windows/Linux) orCmd + Option + I(Mac) to open Developer Tools. - Click on the “Console” tab.
- Type
document.querySelectorAll('img').forEach(img => img.src = '');and press Enter.
This will remove the source of all images on the page, effectively stopping any GIFs from playing.
Additional Information
Benefits of Stopping GIFs
- Improved Performance: Preventing GIFs from auto-playing can speed up page load times and reduce CPU usage.
- Reduced Distraction: Stopping GIFs can help maintain focus and reduce visual clutter.
- Bandwidth Savings: Auto-playing GIFs can consume significant bandwidth, so blocking them can save data.
Alternative Solutions
- Custom Stylesheets: Advanced users can create custom stylesheets to block GIFs by setting the
animation-play-statetopausedfor all images. - Browser Settings: While Chrome does not have a built-in option to stop GIFs, other browsers might offer this feature in their settings.
Conclusion
Stopping animated GIFs from playing automatically in Google Chrome can enhance your browsing experience by reducing distractions and saving bandwidth. By following these steps, you can effectively control GIF playback using extensions, Chrome’s experimental features, or ad blockers.

